
Table of Contents
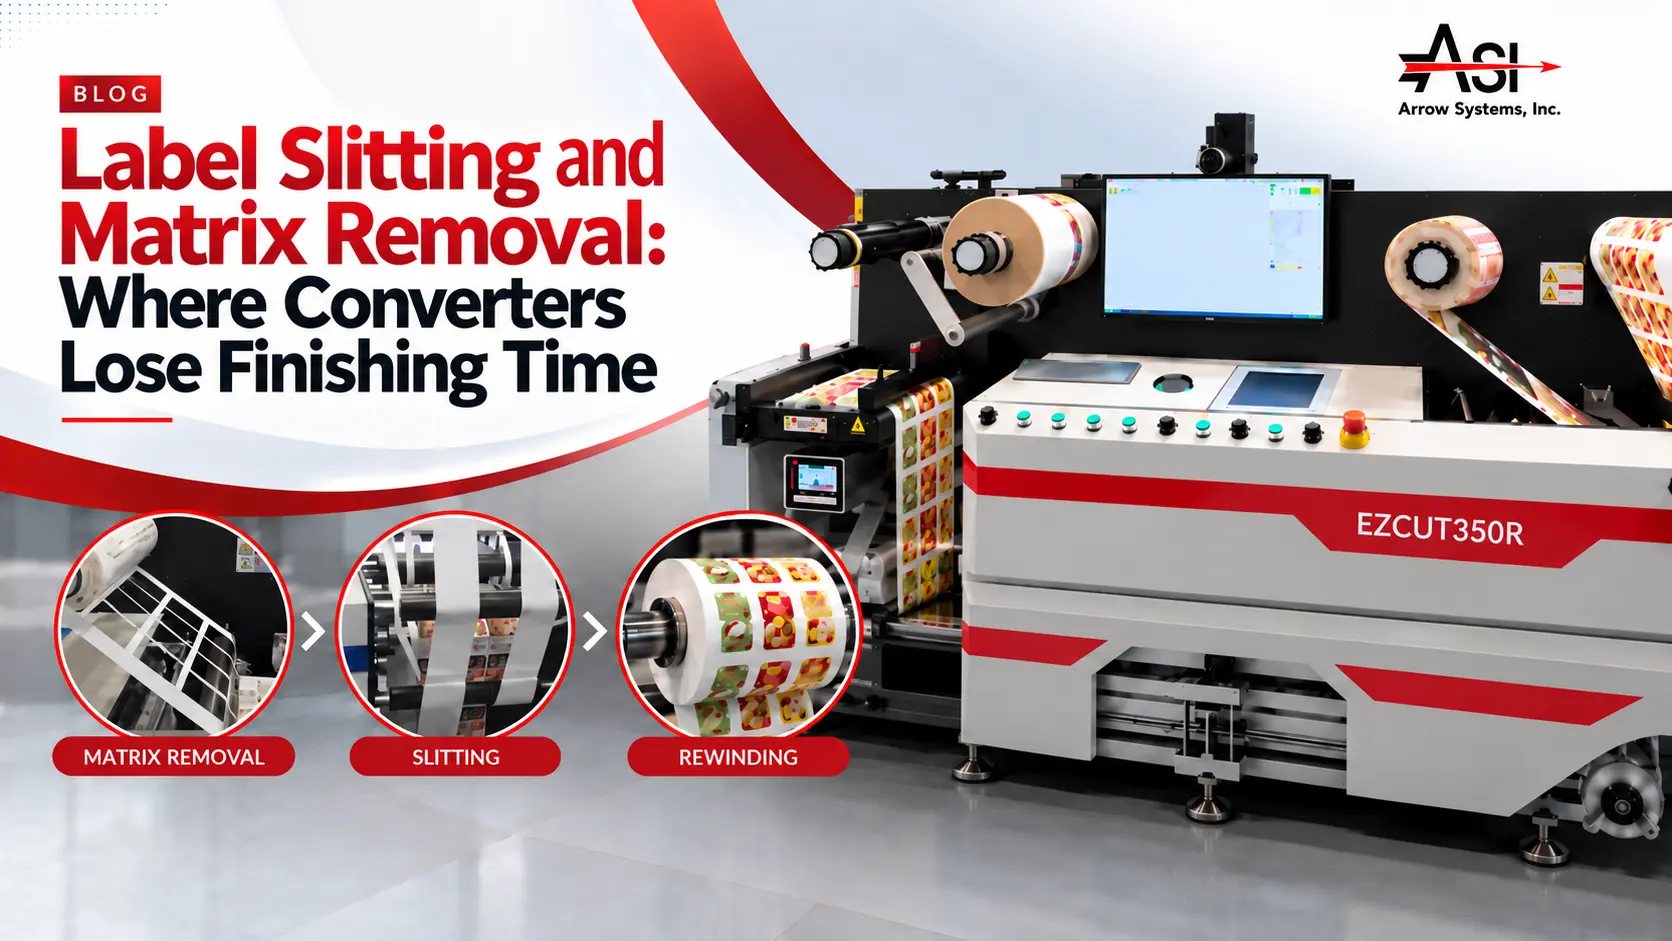
Label Slitting and Matrix Removal: Where Converters Lose Finishing Time
Label slitting and matrix removal, plus rewinding, cost converters more finishing time than the die through stops, rethreads, and rejected rolls.
Key Takeaways
- A finishing line runs only as fast as its slowest step, and when downtime codes lump stripping, slitting, and rewinding together, the real bottleneck stays hidden.
- Most label matrix removal problems trace to label geometry (narrow bridges, nested shapes, tight gaps), material behavior (adhesive bleed, liner release), or mechanics (strip angle, take-up tension, speed ramp).
- A slitting job typically needs one more blade than it has lanes when both edges are trimmed, and setup time grows with every lane change.
- A finished roll that misses the applicator’s core size, outside diameter, wind direction, or labels-per-roll count is a rejected roll, regardless of print quality.
- Rated speed is not running speed: the Arrow EZCut 350R slits at up to 100 m/min but die-cuts at up to 9 m/min, and the ArrowCut Nova 330R produces about 10,800 labels per hour on 100 mm circles versus about 6,060 on 100 mm squares.
Why Do Slitting, Stripping, and Rewinding Get Blamed Less Than the Die?
Die-cutting is easy to inspect and measure, while matrix, slit, and rewind faults get logged under other causes, so they rarely get fixed.
Die-cutting is easy to evaluate. The tooling can be inspected, the cut depth can be measured, and the result is either clean or it isn’t.
The steps after the die are harder to read. Operators often log a matrix break as a “die issue,” a wandering slit as press registration, and a telescoped roll as a shipping complaint. When downtime codes don’t separate stripping, slitting, and rewinding, the real cause stays hidden.
That matters because a finishing line runs only as fast as its slowest step. If the matrix strips cleanly at only half the die’s capable speed, the whole line runs at half speed. That single step becomes the finishing line throughput bottleneck, whatever the die is rated for.
What each post-die finishing step does
- Matrix removal (stripping)
- Matrix removal peels the waste face stock left between die-cut labels off the liner and winds it onto a take-up spindle, leaving finished labels on the liner.
- Label slitting
- Label slitting cuts the stripped web lengthwise into individual lanes, each one becoming a finished roll of the width the customer specified.
- Rewinding
- Rewinding winds each slit lane onto a core at a controlled tension, to the outside diameter, wind direction, and label count the customer’s applicator requires.
| Step | Main failure mode | Key setup variable | Cost driver |
|---|---|---|---|
| Matrix removal | Breaks and tears | Strip angle, take-up tension | Stops, rethreading waste, reduced speed |
| Slitting | Edge defects, lane drift | Blade position, web guiding | Setup time per lane change, rejected lanes |
| Rewinding | Telescoping, over-tight winds | Rewind tension, core and OD spec | Customer roll rejections, re-runs |
Matrix Removal: Where Breaks, Tears, and Stops Actually Come From
Label matrix removal problems trace to three sources: label geometry, material behavior, and strip mechanics at speed.
Common causes of matrix breaks
- Geometry
- Thin matrix bridges, small or nested shapes, tight gaps, and round corners create weak points in the waste web that tear under take-up tension.
- Materials
- Adhesive bleed can re-bond the matrix to label edges. Face stock stiffness and liner release level change how easily the waste lifts away from the liner.
- Mechanics
- Strip angle, take-up tension, and speed ramp determine whether the matrix peels away cleanly or tears.
Matrix troubleshooting: symptom, likely cause, first check
| Symptom | Likely cause | First check |
|---|---|---|
| Matrix breaks at the same spot every repeat | Bridge too narrow at a corner or nest | Review bridge width with your die supplier |
| Matrix breaks only above a certain speed | Aggressive speed ramp or take-up tension | Slow the ramp and check tension at speed |
| Labels lift off with the matrix | Adhesive bleed or incomplete cut-through | Check cut depth and material age |
| Random tears across the web | Uneven tension or strip angle | Check strip bar position and cross-web tension |
| Small labels flag off the liner | Low release force or sharp strip angle | Adjust the strip angle and confirm the material spec |
Reducing matrix stripping waste at prepress and setup
The cheapest fix often comes before the job reaches finishing. A slightly wider gap between labels can strengthen the matrix enough to strip faster. Agree on minimum bridge widths by material family with your die supplier, then build them into prepress templates.
At setup, record the strip angle, tension, and ramp that worked for each shape and material. Starting from known-good settings typically reduces both threading waste and matrix stripping waste.
Slitting: Blade Count, Web Width, and Speed Limits
Blade count, web width, and minimum lane width set what one slitting pass can do; label slitting speed depends on the rest of the line.
- Blade count vs. lane count
- A job typically needs one more blade than it has lanes when both edges are trimmed. The machine’s maximum blade count, web width range, and minimum lane width set the limits of a single pass.
- Slitting blade setup
- Razor slitting is quick to set and suits many films and papers. Rotary or shear slitting typically gives cleaner edges on tougher materials but needs more careful positioning. With either method, setup time grows with lane changes, because every moved blade means measuring, locking, and test-running.
- Edge quality and dust
- Dull blades or incorrect blade engagement can leave ragged edges and paper dust. That debris can contaminate adhesive and interfere with downstream sensors.
- Label web guide accuracy
- Web guide accuracy determines whether slits stay in the gap between labels. Web wander shows up as inconsistent lane widths or slits that nick the labels.
- Label slitting speed
- Rated slitting speed is a ceiling. Practical speed depends on the material, lane count, blade type, and whether die-cutting, stripping, and rewinding can keep pace in the same pass.
Rewinding: Tension, Core Size, and Roll Diameter for the Applicator
Rewinding finished label rolls is the step the customer handles; if a roll won’t load on the applicator, the job has failed.
Rewinding is the step your customer actually handles. If a roll won’t load on the customer’s applicator, the job has failed regardless of print quality.
- Roll rewind tension
- Rolls wound too loosely can telescope or shift in transit. Rolls wound too tightly can squeeze out adhesive or cause labels to flag, especially stiff films near the core. Tension often needs to taper as the roll builds.
- Core size
- Common label cores are 1-inch and 3-inch, but customers may specify others. Confirm the core size before the run starts.
- Finished roll diameter and labels per roll
- The applicator sets the maximum finished roll diameter, and the customer’s line often sets the labels-per-roll count. An oversized finished roll usually means a rejected roll.
- Wind direction
- The wind (labels in or out) and the unwind position (which edge leads) must match how the customer’s applicator feeds.
- Counting and splices
- Accurate counts support the labels-per-roll spec and billing. Flag splices and handle them according to the customer’s tolerance, because some applicators handle splices poorly.
How Do Die-Cutting, Stripping, Slitting, and Rewinding Work in One Pass?
A single pass runs laminate, die-cut, strip, slit, and rewind on one web path, removing intermediate rolls and their threading waste.
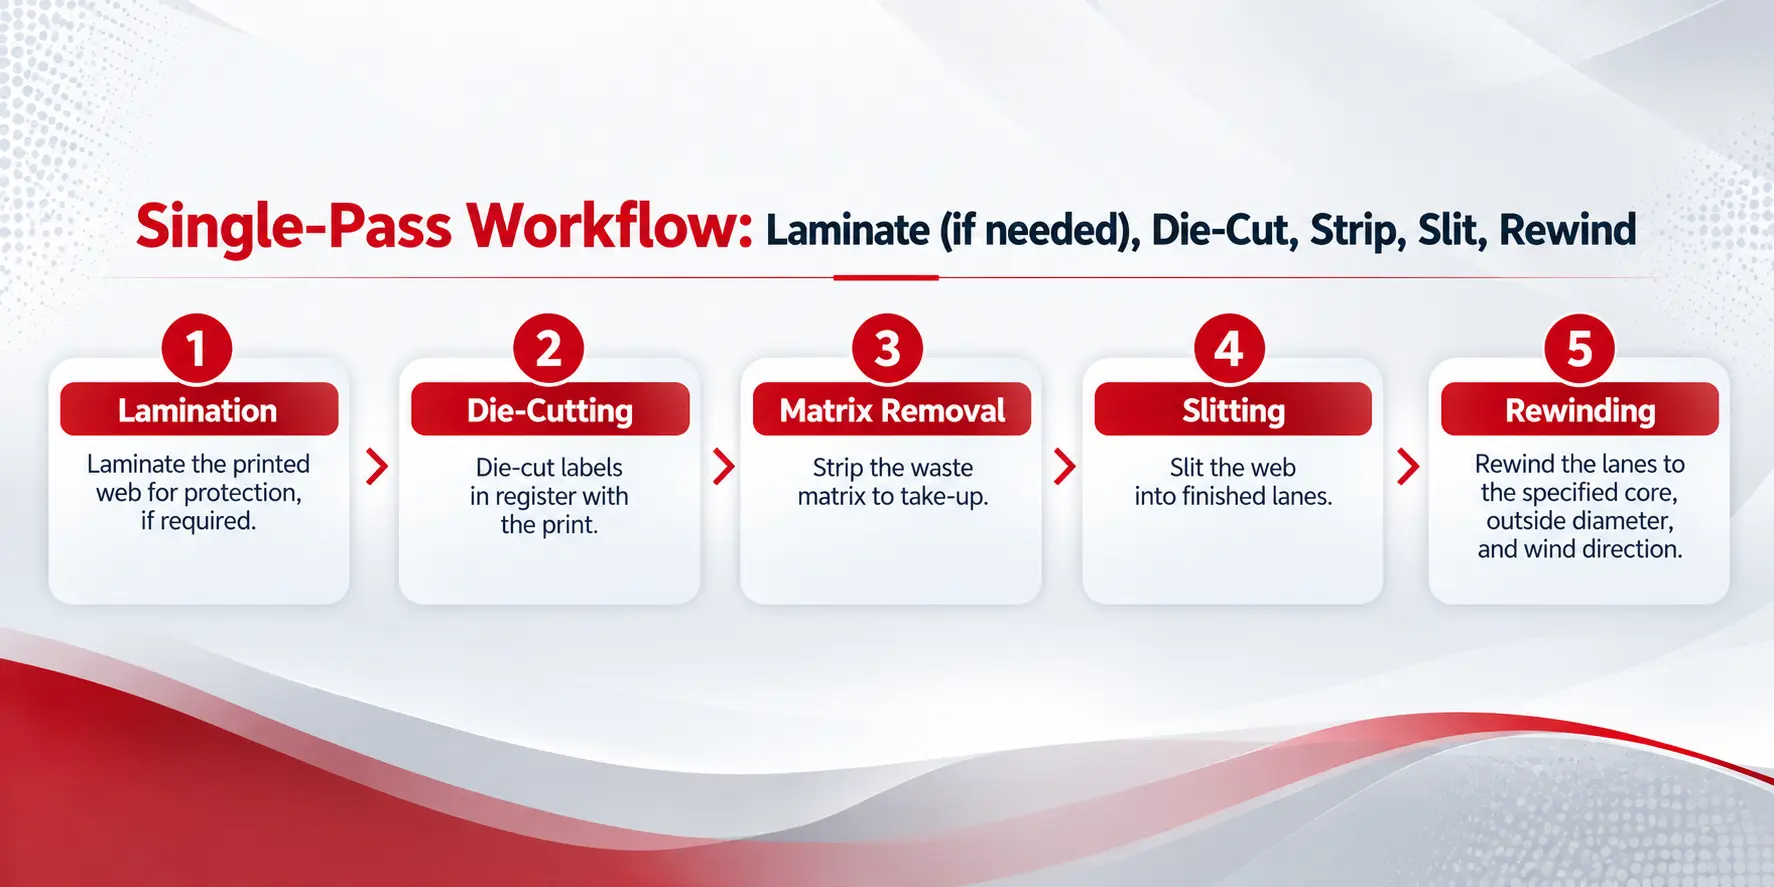
Single-pass workflow: laminate (if needed), die-cut, strip, slit, rewind
- Laminate the printed web for protection, if the job requires it.
- Die-cut labels in register with the print.
- Strip the waste matrix to take-up.
- Slit the web into finished lanes.
- Rewind the lanes to the specified core, outside diameter, and wind direction.
What changes in a single pass
- Fewer handling steps
- There are no intermediate rolls to stage, move, and rethread between finishing operations.
- One registration reference
- Die and slit positions share a single web path, which limits drift between passes.
- Less threading waste
- Every offline pass adds its own lead-in and lead-out waste, so removing passes removes that waste.
- Stored job settings
- Saving lane positions, tensions, and speeds by job family makes setups more repeatable.
Trade-offs of single-pass finishing
Line speed is set by the slowest step, so a difficult matrix still caps the whole pass. Operator skill still matters for threading, strip setup, and tension judgment. Some specialty or long-run jobs may still fit better offline.
Illustrative estimate: offline multi-pass vs. single inline pass
Illustrative estimate, not a measured result. Assume 25 short jobs per week run as three offline passes. If each extra pass adds 10 minutes of threading, setup, and handling, the two extra passes cost 20 minutes per job.
| Input | Value |
|---|---|
| Short jobs per week | 25 |
| Extra offline passes per job | 2 |
| Threading, setup, and handling per extra pass | 10 minutes |
| Time spent on extra passes per week | 500 minutes (about 8.3 hours) |
A single pass still requires setup but could recover part of those 8.3 hours. Actual results depend on material, job mix, and operator experience.
Which Inline Finishing Configuration Fits Your Job Mix: Arrow EZCut 350R, Aries, or ArrowCut Nova 330R?
The right configuration depends on which step limits you today and how you cut: digital blades, semi-rotary dies, or a die-free laser.
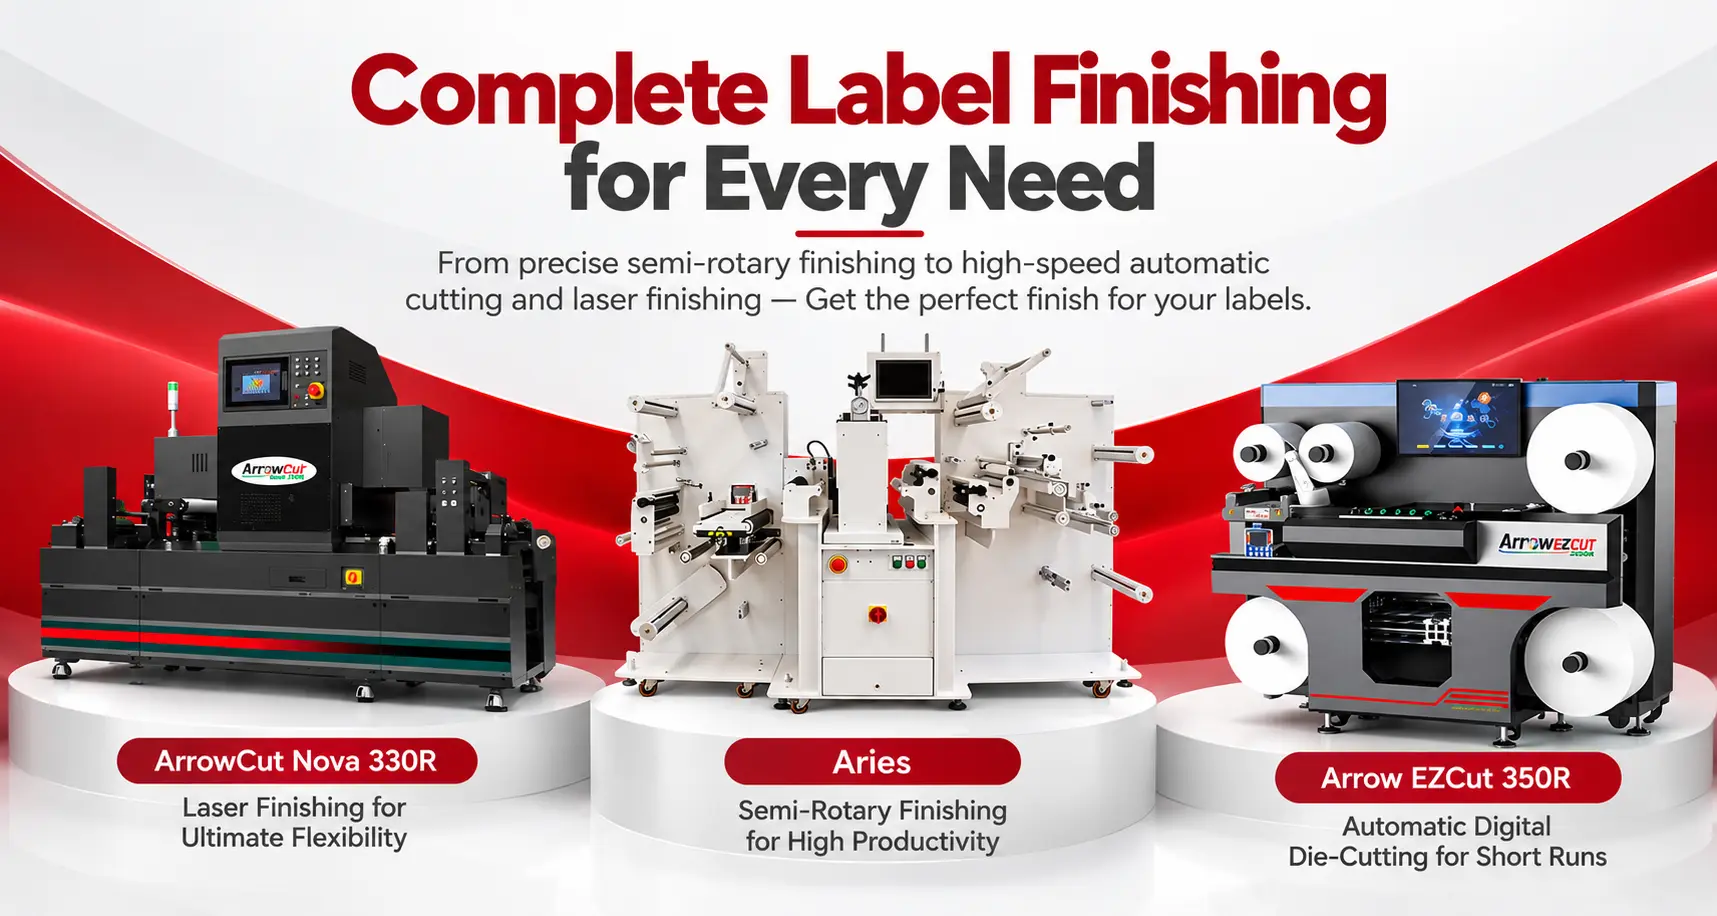
Arrow Systems, a manufacturer of digital label presses and label finishing systems, offers three ways to run laminate, cut, strip, and slit as one pass. The main difference is the cutting method, because it decides tooling cost, changeover time, and which step sets your line speed.
- Arrow EZCut 350R: digital blade cutting with high-speed rotary slitting
- The Arrow EZCut 350R is a roll-to-roll digital die cutter that laminates, cuts, removes matrix, slits, and sheets labels in one machine. Its cutting heads (4 standard, up to 6) adjust their spacing automatically, so there is no physical die to order. Round-knife rotary slitting runs at up to 100 m/min with 5 slitting knives as standard, expandable to 15, across slitting widths of 10 to 330 mm. Digital die-cutting runs at up to 9 m/min, so on jobs that cut and slit together, cutting speed sets the pace. An ultrasonic web guide keeps feeding straight, and a CCD camera reads printed code marks to change jobs automatically. It suits short, on-demand runs with multi-lane, slitting-heavy layouts.
- Aries: semi-rotary die cutting for repeat shapes at volume
- The Aries is a semi-rotary label finishing machine that laminates, die-cuts, removes matrix, and slits in one pass at up to 30 m/min. It cuts with flexible steel dies on a magnetic cylinder, so the bridge-width standards above apply directly to its tooling. Each rewind core has its own ultrasonic tension control that adjusts to roll diameter as the roll builds, and a web guide is standard. Slitting capacity is up to 12 blades on the ARS25PL and up to 15 on the ARS35PL, with a minimum slitting width of 19 mm (0.75 in), and finished label rolls rewind up to 400 mm (15.75 in) in diameter. Offset adjustment aligns the cut to printed artwork for full-bleed labels. It suits converters running repeat shapes across short, medium, and long runs who need lamination in the same pass.
- ArrowCut Nova 330R: die-free laser finishing for changing shapes
- The ArrowCut Nova 330R is a roll-to-roll CO2 laser finisher that laminates, laser die-cuts, removes matrix, slits, and rewinds inline on media up to 350 mm wide. Because the laser replaces the physical die, there is no cutting tooling to order between jobs, and cut modes include kiss cut, full cut, perforation, and etching. The slitter takes up to 5 knives, which fits jobs with lower lane counts. Maximum working speed is 45 m/min, but throughput depends on shape: the Nova 330R produces about 10,800 labels per hour on 100 mm circles versus about 6,060 on 100 mm squares, both run 2-across. It suits short runs and frequently changing shapes where die cost and die lead time slow the job down.
| Factor | Arrow EZCut 350R | Aries | ArrowCut Nova 330R |
|---|---|---|---|
| Cutting method | Digital blade heads (4 standard, up to 6), no die | Semi-rotary, flexible steel dies on a magnetic cylinder | CO2 laser, no die |
| Inline steps | Cold lamination, cutting, matrix removal, slitting, sheeting | Cold lamination, die-cutting, matrix removal, slitting | Lamination, laser cutting, matrix removal, slitting, rewinding |
| Slitting capacity | Rotary round knife, 5 standard, expandable to 15 | Up to 12 (ARS25PL) or 15 (ARS35PL) blades; 19 mm minimum width | Up to 5 knives |
| Rated speed | Up to 9 m/min cutting; up to 100 m/min slitting | Up to 30 m/min | Up to 45 m/min; output varies with label shape |
| Best fit | Short, on-demand runs with high lane counts | Repeat shapes at volume with lamination | Short runs and changing shapes at lower lane counts |
Questions to answer before comparing models
Frequently Asked Questions: Label Slitting, Matrix Removal, and Rewinding
Common questions from converter operations, production, and finishing leads about stripping, slitting, and rewinding label rolls.
- Matrix breaks usually come from narrow bridges between labels, small or nested shapes, tight gaps, and round corners that weaken the waste web. Adhesive bleed, face stock stiffness, and liner release add to the risk. Strip angle, take-up tension, and aggressive speed ramps are the most common setup causes to check first.
- Most jobs need one more blade than the number of lanes when both edges are trimmed, and fewer when no edge trim is taken. Your slitter’s maximum blade count, minimum lane width, and web width limits determine whether a job runs in one pass. Standardize blade layouts by job family to shorten setup.
There is no universal setting. Tension should be firm enough to prevent telescoping but not so tight that adhesive oozes or labels flag, and it often tapers as the roll builds. Finished roll diameter, core size, wind direction, and labels per roll should match the end user’s applicator specification, confirmed before production.
- Often, but not always. A single pass removes intermediate handling, rethreading, and extra lead-in waste, which typically matters most on short runs with frequent changeovers. However, line speed is limited by the slowest step, so a difficult matrix or high lane count can still cap throughput. Results depend on material and job mix.
Next Steps: Find Your Finishing Constraint
Audit finishing stops by step for two weeks before changing equipment; the pattern usually points to one dominant constraint.
- Code downtime separately for matrix removal, slitting, and rewinding so the real cause is visible.
- Set minimum bridge widths by material family and build them into prepress templates.
- Store known-good strip, tension, and lane settings by job family to shorten setups.
- Confirm core, outside diameter, wind direction, and labels per roll against the customer’s applicator before every run.
Book a Finishing Workflow Review with Arrow Systems
If slitting, stripping, or rewinding is holding back your finishing line, Arrow Systems offers a no-obligation finishing workflow review for converter operations and production leads.
The review maps your current die-cut, strip, slit, and rewind steps against your lane counts, label shapes, roll specs, and lamination needs to show where the Arrow EZCut 350R, Aries, or ArrowCut Nova 330R fits. You can also request a sample run on your own material and die layout.
Request Your Finishing Workflow Review →
Label Converter Finishing Capacity: Adding Blade and Laser Lines
Table of Contents Label Converter Finishing Capacity: Adding Blade and Laser Lines Label converter finishing capacity falls short from volume, job mix, or both. Diagnose
Confectionery Packaging Capacity Planning: Use Q4 Data for ROI
Table of Contents Confectionery Packaging Capacity Planning: Use Q4 Data for ROI Confectionery packaging capacity planning works best on cost data logged during Q4 peak,

Gold Foil Labels Digital Printing: Foil Effects Without Stamping
Table of Contents Gold Foil Labels Digital Printing: Foil Effects Without Stamping Digital presses create gold foil label effects by printing on pre-metallized PET film
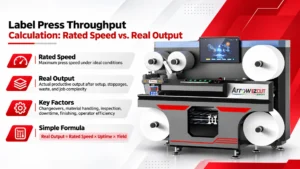
Label Press Throughput Calculation: Rated Speed vs. Real Output
Table of Contents Label Press Throughput Calculation: Rated Speed vs. Real Output A label press throughput calculation turns rated speed into realistic labels per shift,

Seasonal Coffee Label Printing: Holiday Runs on One Press
Table of Contents Seasonal Coffee Label Printing: Holiday Runs on One Press Seasonal coffee label printing works best when every Q4 label runs on one
Primer and Varnish Stations: Inkjet Label Press Spec Guide
Table of Contents Primer and Varnish Stations: Inkjet Label Press Spec Guide Primer and varnish stations prime film before inkjet printing and protect it after,