Coffee Roaster Flexible Pouch Printing Workflow: Roll to Bag
Table of Contents Coffee Roaster Flexible Pouch Printing Workflow: Roll to Bag In-house coffee pouch printing runs five stages — substrate loading, queue setup, the

In-house coffee pouch printing runs five stages — substrate loading, queue setup, the print run, finishing, and the pouch-forming handoff.
In-house printing replaces converter tooling and order minimums with a file-driven process, moving bag-quantity decisions into production scheduling.
The traditional path runs artwork approval, plate or cylinder tooling, a minimum order quantity, several weeks of lead time, then boxes of bags in the back room. The on-demand path — print on demand packaging, in short — runs approved file, print queue, roll of film, print, form, pack. Lead times and minimums below are illustrative and vary by converter, structure, and season — confirm both with your own suppliers.
Decision Factor | Converter Model | Print-on-Demand Model |
Tooling | Plates or cylinders per artwork version | None; file-driven |
Minimum order | Quoted per SKU, typically in the thousands of bags | Driven by roast need, down to short lots |
Lead time | Weeks from approval to delivery | Days, tied to the roast schedule |
Artwork revisions | New tooling and a new minimum | File revision inside an existing template |
Bag inventory risk | Held as unused stock on obsolete panels | Reduced; printed against scheduled roasts |
Who owns quantity | Purchasing | Production scheduling |
The real shift is not only speed: it moves bag quantity decisions out of purchasing and into production scheduling.
Minimum order quantity flexible packaging purchasing assumes steady, high-volume demand — an assumption coffee SKUs routinely break. Coffee generates SKUs faster than it generates volume. A minimum quoted in the thousands or tens of thousands of bags per SKU is a poor fit for most of the drivers below — ask your converter for the exact figure by structure before modeling the comparison. Roasters increasingly search for custom stand up pouches no minimum as an alternative, which is effectively what an in-house print-on-demand model delivers without the per-order negotiation.
Rotating single-origins
Tied to harvest windows, often only a few hundred to a couple thousand pounds per lot — far short of a typical converter minimum.
Seasonal blends
Carry a defined on-shelf window, so overprinted bags become stranded inventory once the season ends.
Wholesale and private-label accounts
Each account typically wants its own artwork, multiplying SKU count without a proportional increase in total volume.
Subscription-exclusive lots
Bags that never appear at retail, printed against a subscriber count rather than a shelf forecast.
Panel updates
Revised tasting notes, new process descriptions, and roast-date or lot formatting changes — each one a new artwork version under a converter’s tooling model.
In-house printing rarely means in-house everything. Film supply, degassing valve components, and often pouch forming stay with outside partners. Many roasters print rollstock and send it to a converter for forming and valve insertion — a legitimate long-term arrangement rather than a stopgap.
This stage confirms the film protects the coffee and accepts ink reliably for stand-up pouch printing — quick once specs are settled.
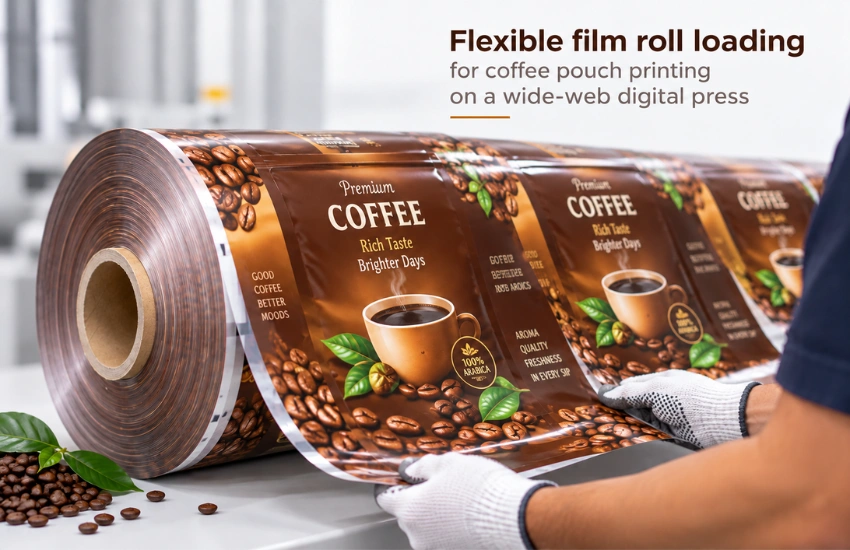
Whole bean tolerates a bit more headroom than ground; ground coffee has far more exposed surface area and loses aroma faster. Both need oxygen and moisture barrier plus aroma retention, and both off-gas CO₂ after roasting, which is why the degassing valve exists.
Ask your film supplier for the oxygen transmission rate coffee packaging needs — expressed as OTR — plus water vapor transmission rate (WVTR) figures on the exact structure, and food-contact documentation for FDA requirements, then validate against your own shelf-life and cupping tests. Do not assume equivalence between two films that look alike.
Oxygen transmission rate (OTR)
A measure of how much oxygen passes through a film structure over a given time and area. Lower OTR means better oxygen barrier — directly relevant to how long roasted coffee holds its flavor before staling.
Water vapor transmission rate (WVTR)
A measure of how much moisture passes through a film structure. Coffee is hygroscopic, so a film’s WVTR figure affects how well the bag protects against staling and clumping over shelf life.
Provide high barrier for flagship and long-shelf-life SKUs, where oxygen and moisture protection outweighs other considerations.
Clear or window laminates
Used where bean visibility supports the merchandising story — letting the customer see the roast through the bag.
Kraft-look laminates
Kraft pouch printing on these laminates delivers a natural aesthetic, with barrier performance supplied by an inner layer rather than the visible facestock.
Recyclable mono-material films
Selected where store-drop-off or curbside recyclability claims matter to the brand.
Matte finishes soften brand browns and creams and hide handling marks; gloss lifts saturated origin artwork but shows scuffing under shelf lighting. Choose per artwork family, not per whim — each finish behaves differently at press.
Printing on stand up pouches depends heavily on getting these roll fundamentals right before the roll ever reaches the press.
Before committing the roll, print a short lead strip and run a surface energy and ink anchorage check, including a tape pull and a dry scuff rub. Sample and adhesion-test every new film, every new supplier lot, and every treatment change before production. Ten minutes here prevents a scrapped roll.
Food-contact suitability, barrier performance, and shelf-life validation are confirmed with the film supplier and through the roaster’s own testing — not by Arrow Systems. Arrow Systems manufactures printing hardware and does not provide food-contact compliance advisory services.
Queue building prevents or creates changeover chaos — batch by substrate first, then artwork family and ink coverage, then quantity.
Maintain a locked master file set for core SKUs, changed only through a formal revision. Maintain a separate rotating-lot template where only origin name, process, altitude, tasting notes, and lot code change. One owner approves artwork releases, one version numbering scheme applies, and shared-drive improvisation is not part of the process.
Variable data pouch printing handles lot codes, roast-date panels, and batch identifiers as variable fields inside a single job, so a subscription lot and a wholesale lot on the same artwork family do not require two setups.
Tie the print queue to the roast schedule rather than a purchase cycle: when the schedule releases the roast, it releases the bag job. That is operations automation in its most practical form — printing triggered by production, so bags print days ahead instead of weeks.
Color consistency and keep-out discipline are locked in during the print run — everything downstream inherits what happens at this station.
Heavier coverage generally needs more drying dwell, which means slower web speed. Light-coverage kraft-look artwork often runs faster than a full-bleed origin design on the same film. Set speed per job, not per shift, and record the setting in the job record.
Pull a first article, compare it against the approved reference, and get a documented sign-off before the run continues. Check registration, panel copy, lot code accuracy, and barcode readability on the printed article, not on screen.
ICC profiles per substrate and finish
Maintain a separate ICC profile for each substrate and finish combination rather than a single generic profile across the whole film range.
Brand browns and creams as spot-color approximations
Treat these as spot-color approximations with a documented reference — neutral browns drift visibly, and shelf comparison is unforgiving.
Densitometer or spectrophotometer verification
Verify against the approved reference at the start of run using a densitometer or spectrophotometer, not a visual check alone.
Repeat visual checks at set intervals
For example, every 500 linear feet or every 15 minutes as an illustrative cadence — tune the interval to your own drift data.
Degassing valve pouch printing requires the print stage to protect the valve’s keep-out zone, since the valve itself is applied in a separate insertion step:
Finishing turns a printed web into rollstock a forming machine will accept without argument.
Allow the specified cure or dry dwell before rewinding to prevent blocking. Slit to pouch width per the forming spec, then rewind with the correct tension and wind direction — print side in or out as the machine requires. Ask for that spec in writing; do not guess.
Label every finished roll with job number, SKU, coffee lot, linear footage, operator initials, and date. Keep a job record that links the roll to its film lot and the approved artwork revision.
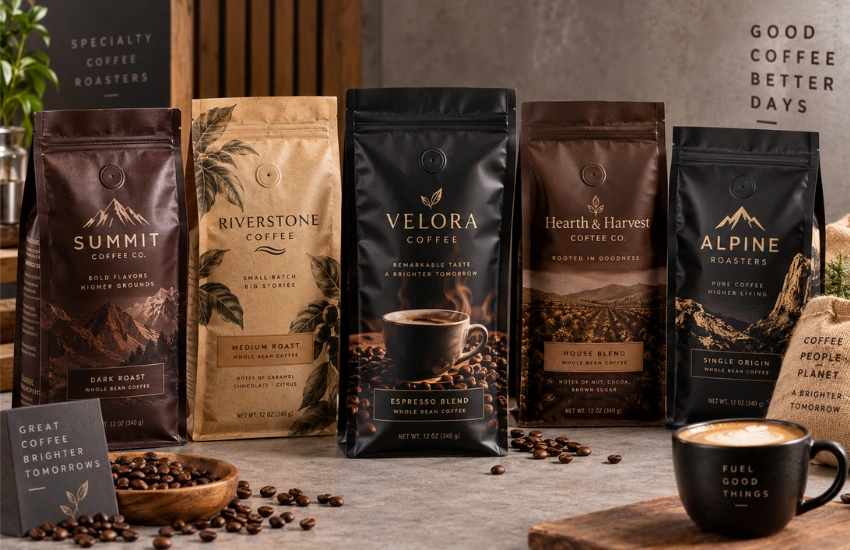
Pull formed bags after valve insertion and sealing. Confirm valve placement and seal quality, check that the bag stands correctly for flat-bottom or stand-up formats, and inspect the printed panel on the finished three-dimensional bag. Artwork that reads well flat can crowd a gusset once formed.
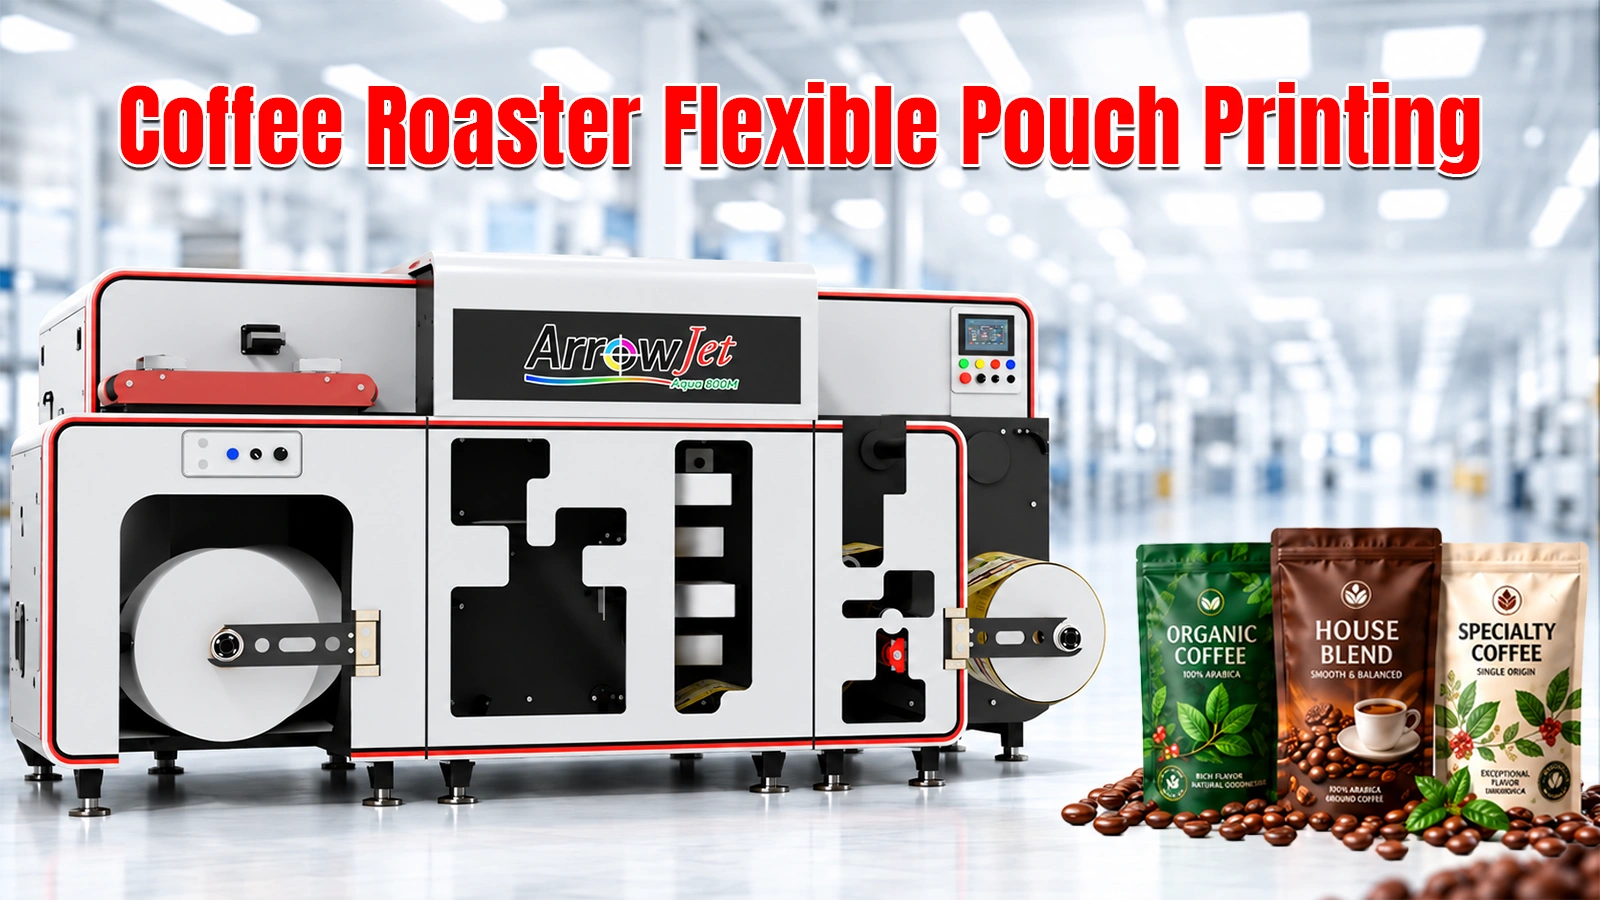
The ArrowJet Aqua 800M is a wide-web press from Arrow Systems for roll-to-roll, water-based inkjet printing on flexible film.
Roasters researching a coffee bag printer for this stage of the workflow are typically comparing wide-web digital presses against narrower label-class machines — the distinction matters, since pouch printing needs the width, materials range, and speed tiers described below.
Print platform and engine
The ArrowJet Aqua 800M uses Memjet DuraFlex® print technology with water-based pigment CMYK ink, printing up to 1600 × 1600 dpi at a maximum printing width of 638 mm (25.39 in) and maximum media width of 800 mm. Speed is configurable across three tiers — 90, 150, and 195 ft/min — traded against ink coverage and dwell time on a given job, the same coverage-vs-speed relationship that governs queue and run planning in Steps 2 and 3 above.
Materials supported
The press prints on coated paper, PP, PET, PVC, BOPP, Mylar, Tyvek, and laminate papers among other stocks — covering the metallized, clear/window, kraft-look, and mono-material film structures used in coffee pouch production, as outlined in Step 1.
No inline priming or flexo stations
The Aqua 800M does not include inline flexo, priming, or varnishing stations. Film substrates that need surface treatment for ink anchorage — a common requirement on metallized and some mono-material films — must be pre-treated offline before printing. This is directly relevant to the pre-run adhesion test described in Step 1: confirm treatment level and ink anchorage on your specific film and treatment combination before committing a production roll.
Short-run and variable-data behavior
Because there is no plate or cylinder tooling, run length is driven by need rather than by a converter minimum, which suits short-run coffee packaging printing scenarios described above — a single-origin lot that only justifies a few hundred bags. Variable data supports lot codes, roast-date panels, and origin fields inside one job, matching the variable-data handling described in Step 2.
Facility requirements
The Aqua 800M runs on three-phase 220V/400V power and requires a 6 Bar compressed air source — figures worth confirming against your production floor’s existing utilities before installation.
What stays outside the press
The Aqua 800M covers the print stage of this workflow. Film supply, degassing valve components, and pouch forming itself remain with the roaster’s chosen film supplier and converting or forming partner — consistent with what stays outsourced even in an in-house printing model, as described earlier in this guide.
Substrate and ink compatibility should always be confirmed by testing your specific film, and barrier or shelf-life performance validated on your own product — not assumed from a general materials list.
Keep the first phase narrow — one substrate, two core SKUs, and one rotating single-origin — then run that set for a full cycle before expanding.
Step 1: Choose one substrate, two core SKUs, and one rotating single-origin
Narrow the pilot scope deliberately rather than running the full SKU catalog on day one. A stable core SKU pair plus a single rotating lot exercises both the locked-file and rotating-template workflows described in Step 2 without the changeover load of a full production day.
Step 2: Run that set for a full cycle and document the sequence you actually use
Adhesion test, queue order, first-article sign-off, keep-out confirmation, QC gate, formed-bag check. Documenting what actually happens — not what the plan assumed would happen — is what makes the second cycle faster than the first.
Step 3: Compare printed cost per bag and total bags used against MOQ purchasing
Treat any figures from this comparison as your own estimates rather than external benchmarks — film cost, ink coverage, labor, and the value of bag inventory previously scrapped under minimum-order purchasing all belong in the comparison.
Step 4: Expand to a second substrate only after the first one runs clean
Add complexity one variable at a time. A second substrate introduces a new adhesion profile, a new web-tension setting, and potentially a new treatment requirement — worth isolating rather than compounding with other changes.
Common questions from roastery operations, production, and packaging leads evaluating in-house pouch printing against converter orders.
There is no universal threshold — the decision usually turns on SKU count and revision frequency more than total volume. If a roaster regularly needs a few hundred to a few thousand bags per artwork version, and is currently buying several times that quantity to meet a converter minimum, the arithmetic tends to favor printing on demand. Build the comparison using your own film cost, ink coverage, labor, and the value of bag inventory currently scrapped. Treat any published payback range as illustrative until you model your own numbers.
Durability depends on the film structure, ink anchorage, and any overlaminate or coating — not on the printing method alone. Coffee oils, handling abrasion, and extended shelf life all need to be validated on the exact structure a roaster plans to run: adhesion and scuff test the printed film, then run accelerated and real-time shelf-life checks with cupping evaluation. Barrier and food-contact suitability must be confirmed with the film supplier. No print process substitutes for testing on your own structure and product.
Yes, and many roasters start that way. Rollstock is printed and finished in-house, then shipped as slit, labeled rolls to a converting partner for pouch forming and degassing valve insertion. This still captures the short-run and fast-turnaround benefit on artwork while capital and floor space for forming stay outside the roastery. The requirement is precise alignment on rewind orientation, tension, trim width, and keep-out zones so the forming partner’s machine accepts the rolls without rework.
Before evaluating equipment, map your own workflow on paper: roast schedule, active SKU count, substrate types, pouch formats, valve requirement, and monthly bag volume.
Arrow Systems will review substrate and ink compatibility using your sample film and size print capacity against your actual roast volume — rather than a forecasted bag order — to help you decide whether the ArrowJet Aqua 800M and an in-house print stage fit your layout and staffing. Browse Arrow’s full range of digital flexible packaging printers, or send film for a substrate sample evaluation as part of the same request.
Table of Contents Coffee Roaster Flexible Pouch Printing Workflow: Roll to Bag In-house coffee pouch printing runs five stages — substrate loading, queue setup, the
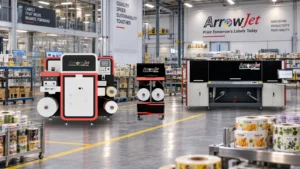
Learn how industrial inkjet printers eject controlled droplets, how scanning and single-pass systems differ, and what ink, substrate, drying, and QA affect.
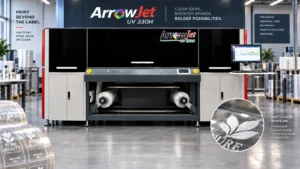
Learn how white ink or toner supports clear, dark, and metallic labels, how to build a white layer, and what to test for opacity, registration, and adhesion.
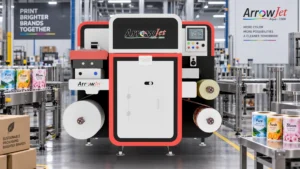
Explore the practical benefits of digital label printers: short runs, versioning, variable data, inventory control, faster response, and integrated finishing.
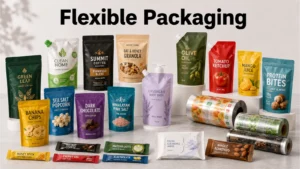
Learn how flexible packaging is used, how pouches and rollstock differ, which barrier and seal questions matter, and where digital printing fits.
Compare laser and analog label finishing by tooling, changeovers, materials, run length, quality, workflow, and total cost before selecting equipment.