In-House Label Printing vs. Print on Demand: Cost by Volume
Table of Contents In-House Label Printing vs. Print on Demand: Cost by Volume In-house label printing vs. print on demand comes down to a cost-per-label

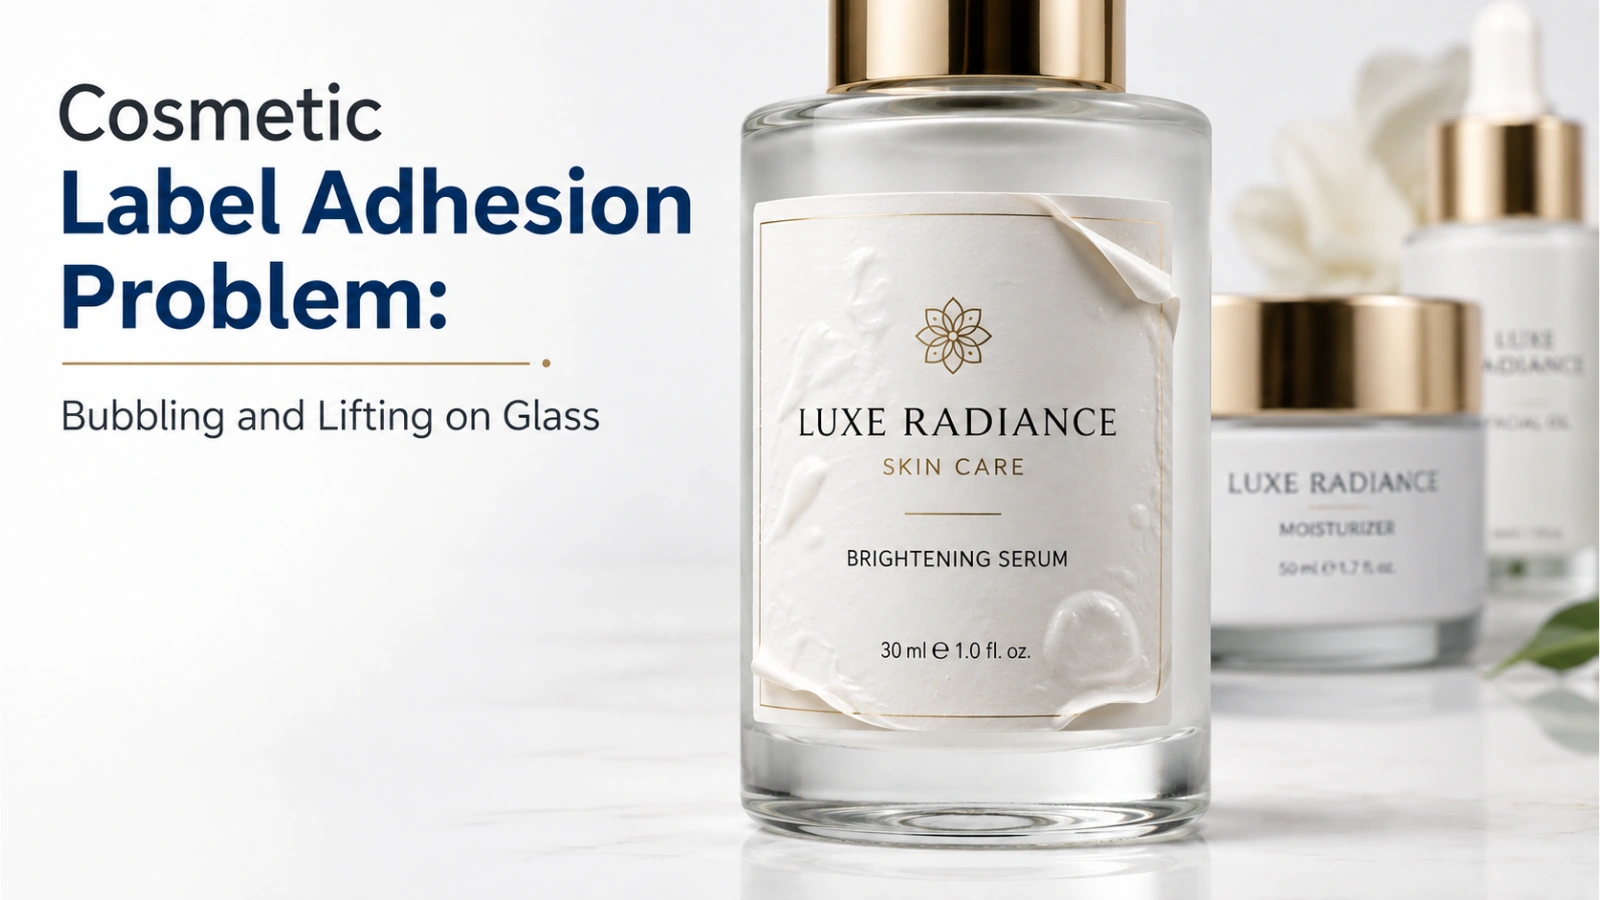
Cosmetic label bubbling and label lifting on glass trace to four variables: surface condition, adhesive chemistry, facestock, or application mechanics — the defect pattern tells you which.
Glass is smooth, rigid, and high-surface-energy — but its zero absorption means anything between the adhesive and the surface stays there permanently.
Glass looks like the easy case. It is smooth, rigid, and high-surface-energy. That is exactly why it is unforgiving: there is zero absorption. On paperboard or an uncoated carton, some adhesive migrates into the substrate. On glass, the adhesive has to wet out across the surface and flow into full contact on its own. Anything sitting between the adhesive and the glass stays there permanently.
This guide is written for cosmetics operations, packaging engineering, and QA teams running flint or amber glass on serum, dropper, and roller-ball SKUs. It maps to a line-side diagnostic sequence, a defect-to-cause table, the material trade-offs worth testing, and a per-SKU qualification protocol.
Common sources of adhesion-blocking residue in cosmetics filling
Mold release and forming residue on new flint and amber glass, sometimes combined with a factory-applied surface treatment or coating; rinse water and detergent or ionic residue from bottle washing, including rinse-aid films invisible under warehouse lighting; silicone and oil carryover from filler nozzles, lubricated conveyors, and pump or dropper assembly stations; product overflow — facial oils, serums, and fragrance concentrate that run down the shoulder during fill and dry as a thin film; and condensation on cold-filled or cold-room-stored skincare bottles pulled straight into labeling.
How bottle geometry compounds the problem
Small-diameter serum, dropper, and roller-ball bottles have tight radii that hold constant peel stress on the label edge. Shoulders, tapered necks, mold seams, and embossed logos create high spots where a flat die-cut label cannot lie down without trapping air.
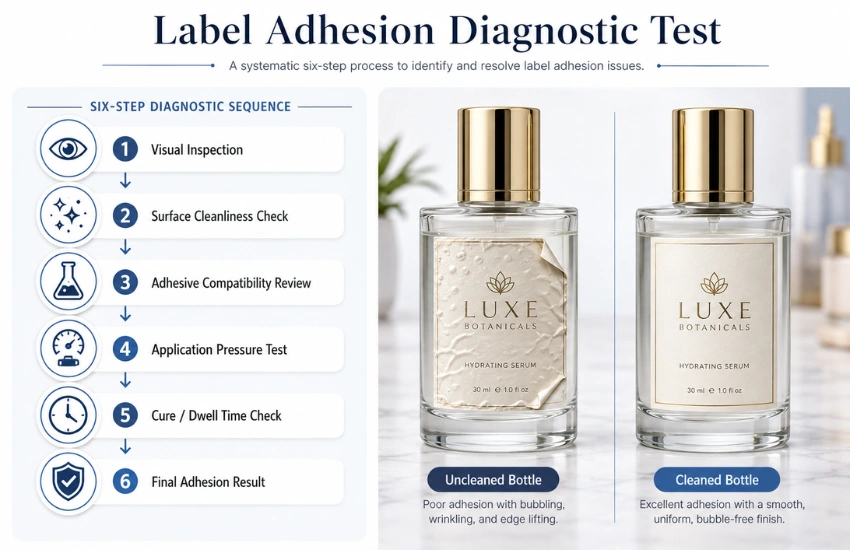
A six-step line-side sequence — sampling, a cleaned-vs-uncleaned comparison, temperature checks, and an applicator inspection — isolates whether the cause is surface, material, or machine.
Run this sequence on the line to isolate a label bubbling glass bottle defect before changing any material:
If the cleaned bottle holds and the uncleaned bottle fails, you have a surface problem, not a material problem. If both fail, look at adhesive chemistry or construction. If hand application holds and machine application fails, the applicator is your variable.
Defect | Likely root cause | First check | Corrective action |
Center bubbling | Air entrapment on curved glass, or an uneven wipe-down | Roller contact across full label width; bottle diameter vs. label length | Increase wipe pressure, add a second wipe roller, shorten the wrap or move the label off the shoulder radius |
Edge lifting / flagging | Facestock too stiff for the radius, or a laminate adding stiffness | Bend a sample around the actual bottle; compare leading vs. trailing edge | Move to a more conformable film, reduce total caliper, radius the die corners, keep the label off the taper |
Silvering under clear film | Incomplete wet-out from residue or low-temperature application | IPA wipe test label comparison and water-break test on the same glass lot | Add or restore a wipe-down station; bring bottles to room temperature before labeling |
Tunneling (long narrow channels) | Preload or web tension stress applied before contact | Peel-plate alignment, web tension, static | Realign the peel plate, reduce tension, add static control, confirm the label is not stretched at transfer |
Full delamination / uniform release | Adhesive mismatched to glass, product chemistry, or a cold and wet surface | Cold-room or fill temperature at the moment of application | Requalify the adhesive for wet-surface or cold-temperature application and for product exposure |
Clean glass is high surface energy and lets adhesive spread out flat, but any silicone, oil, or rinse residue on top makes the bottle behave like a low-energy surface regardless of the glass underneath.
Surface energy label adhesion comes down to wettability. High-energy surfaces let liquids and adhesives spread out flat. Low-energy surfaces make them bead up. Clean glass is high energy, so a well-matched adhesive flows across it and forms full contact. The catch is that the adhesive only touches whatever film sits on top — so a bottle carrying silicone, oil, or rinse residue behaves like a low-surface-energy label application even though the glass itself is fine.
IPA wipe test
Clean one bottle, apply the same label to cleaned and uncleaned bottles, then compare after 24 hours. A screening tool, not a guarantee.
Water-break test
Rinse the surface. Water that sheets evenly suggests a clean surface; water that breaks into droplets suggests a residual film.
Dyne pen indication
Gives a rough directional read on wettability. Treat it as a flag, not a spec.
Initial tack and ultimate adhesion are different properties, and the gap between them is where most “it looked fine” failures live. Initial tack is the grab you see at the applicator. The ultimate bond builds as the adhesive flows and cold-flows into the surface over hours. A compromised surface can still hold for a shift on tack alone, then release once the bond fails to develop — which is why inspecting only at the applicator hides the problem.
A worn, misaligned, or under-pressured glass bottle label applicator, cold bottles, and label placement over mold seams or the shoulder radius cause bubbling independent of adhesive or facestock choice.
Cold or damp bottles
Adhesive flow slows on cold glass. Let bottles reach room temperature and confirm there is no condensation before labeling.
No wipe-down, or a dirty one
Add a clean solvent wipe station, and replace pads or wipes on a documented interval.
Worn or misaligned rollers and brushes
Verify contact across the full label width, then re-tension or replace worn components.
Insufficient wipe pressure
Increase pressure gradually and verify against a hand-squeegeed control sample.
Placement over mold seams, embossing, or the shoulder radius
Move the panel window — a few millimeters often solves it.
Oversized wrap on small-diameter bottles
Shorten label length or design a controlled overlap instead of fighting overlap tension.
Peel-plate misalignment and static
Realign the plate so the label transfers without preload stretch, and add static control at the peel point.
Facestock stiffness, adhesive chemistry, product exposure, and finishing each trade off against conformability and durability — treat them as variables to test, not universal answers.
A cosmetic label facestock adhesive construction that passes on one glass lot can fail on the next, so facestock and adhesive should be tested together as a pair rather than evaluated separately.
Facestock
Paper is stiff and prone to edge lift on tight radii, and it absorbs oils and moisture in humid bathroom use. BOPP and PP conform better and resist water and oils. PE adds softness where a squeeze application or extreme curvature is involved. On a clear-on-clear label on glass, every wet-out defect is visible, so conformability and clean application matter more than they do on a printed white film.
Adhesive
Permanent acrylic systems, both emulsion and solvent-based, differ in initial tack, clarity, and chemical resistance. Rubber-based systems give higher immediate tack with different aging and clarity behavior. Cold-temperature and wet-surface formulations exist specifically for refrigerated skincare and post-fill labeling. Coat weight matters too — too little adhesive on a curved bottle invites flagging.
Product exposure
Fragrance alcohol, facial oils, actives, and cleaning solvents can attack adhesive edges. Test with the actual formulation, not a stand-in.
Finishing
Laminate and varnish add stiffness. Sometimes the fix for edge lift is a thinner overlaminate, or a varnish instead of a laminate.
Once a facestock-and-adhesive construction passes qualification, ArrowJet digital label printers reproduce that exact construction consistently across reorders — without pre-printed inventory locking in a material choice that later needs to change.
Arrow Systems manufactures digital label printing and finishing hardware. This guide reflects material and application patterns that show up when converters and packaging teams test constructions against production bottles and real fill conditions — not sample glass.
Once a construction passes testing, the job becomes reproducing that exact construction. ArrowJet digital label printers print on the same qualified substrate that survived the bottle test, with consistent color and cure across reorders instead of lot-to-lot drift between converters.
On-demand short runs matter here for a specific reason. If testing shows a more conformable film or a different adhesive is needed, tens of thousands of pre-printed labels do not have to be scrapped to make the change. Finishing choices — laminate versus varnish, die shape, corner radius — can be adjusted to reduce edge stress on small-diameter bottles without a new tooling cycle.
The durable fix is control of the specification itself: material specs, version control, and first-article verification tied into the production workflow, so the same adhesion failure does not resurface on the next reorder or the next SKU launched on the same bottle.
Photograph the defect, pull the glass lot, run the cleaned-vs-uncleaned comparison, and check bottle temperature and applicator condition before changing any material.
Common questions from cosmetics packaging engineering and QA teams diagnosing bubbling, lifting, and delamination on glass SKUs.
Initial tack and ultimate adhesion are different properties. At the applicator you are seeing tack, the immediate grab. Full bond strength develops over hours as the adhesive flows into contact with the glass. If residue, cold surface temperature, or trapped air prevented complete wet-out, the label can hold on tack alone for a shift or two, then release as the bond fails to build. Recovery stress from a curved bottle pulls the edge up first — inspecting only at the line hides this entirely.
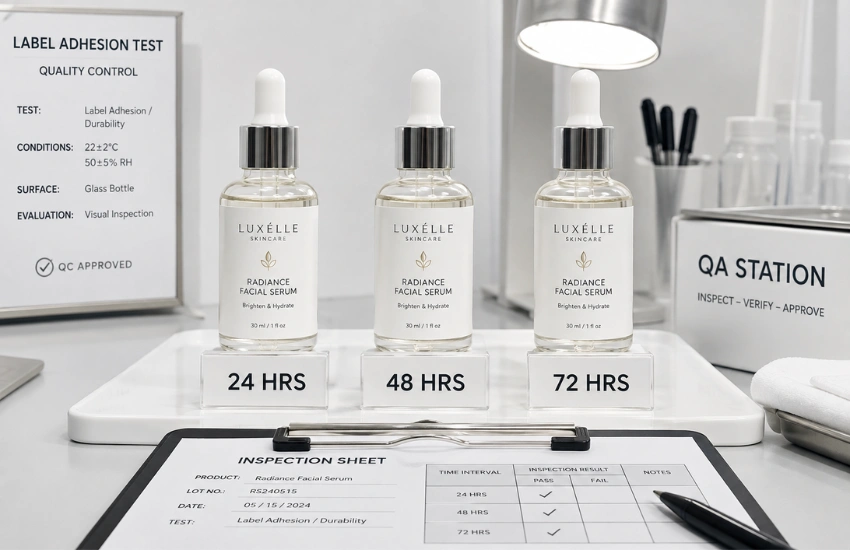
Test before you buy. Clean one bottle from the failing lot with isopropyl alcohol, hand-apply the same label, and hold it 24 to 72 hours next to an uncleaned control. If the cleaned bottle holds, the problem is surface condition: add or repair a wipe-down step and address the residue source. If both fail, cleaning will not save you, and the adhesive, facestock stiffness, or application temperature has to change. Isolating one variable at a time is faster than swapping materials blind.
Many cosmetics teams inspect at 24 hours and again at 48 to 72 hours, because bubbling and edge flagging usually appear in that window rather than at the applicator. Those intervals are typical practice, not certified results, so set your own based on observed failure timing. For refrigerated or cold-chain skincare, add a sample held under the actual storage condition. A documented hold-and-check step inside first-article verification catches problems before a full pallet ships.
If your team has landed on a facestock and adhesive construction that passes bottle testing, ArrowJet digital label printers reproduce it consistently — on-demand, short-run, and without the tooling lead time of pre-printed label inventory.
Talk to Arrow Systems about which ArrowJet configuration fits your substrate, run-length, and finishing requirements for glass cosmetic packaging.
Table of Contents In-House Label Printing vs. Print on Demand: Cost by Volume In-house label printing vs. print on demand comes down to a cost-per-label
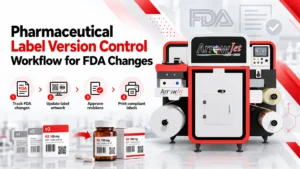
Table of Contents Pharmaceutical Label Version Control Workflow for FDA Changes A GMP label version control workflow moves an approved revision to the line: change
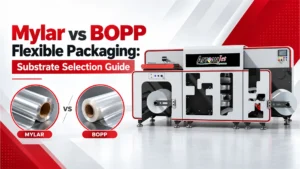
Table of Contents Mylar vs BOPP Flexible Packaging: Substrate Selection Guide PET (Mylar) leads on oxygen and aroma barrier and heat tolerance; BOPP leads on

Table of Contents When to Add a Second Label Printer: Capacity Decision Guide Three measurable signals decide it — sustained utilization above your scheduling ceiling,
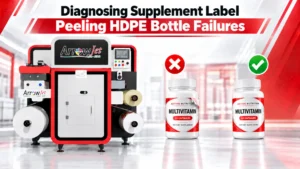
Table of Contents Diagnosing Supplement Label Peeling HDPE Bottle Failures HDPE label peeling traces to low surface energy, an adhesive mismatch, or moisture exposure —
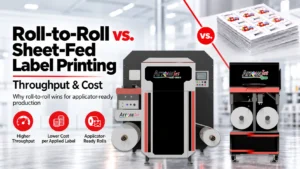
Table of Contents Roll-to-Roll vs. Sheet-Fed Label Printing: Throughput & Cost Rolls win on cost per applied label with an automatic applicator; sheets win on