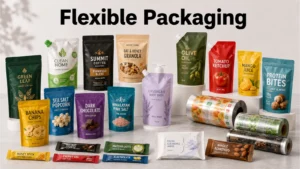
What Is Flexible Packaging? Formats, Materials, and Digital Printing
Learn how flexible packaging is used, how pouches and rollstock differ, which barrier and seal questions matter, and where digital printing fits.

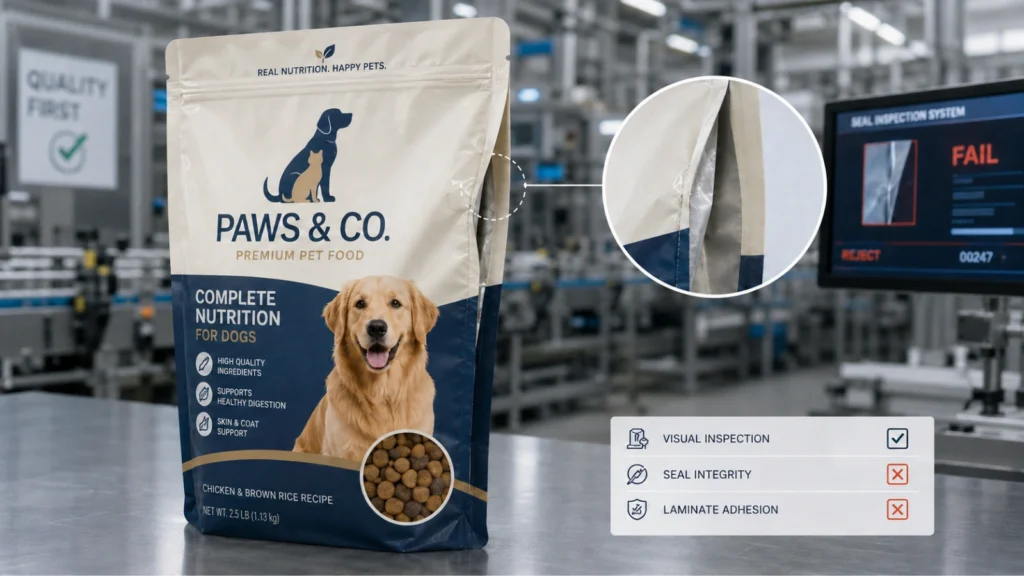
Pet food pouch delamination traces to one of three sources: substrate-ink incompatibility, heat-seal parameter drift, or a surface energy gap.
It’s a specific case of flexible packaging delamination — the same three root causes show up whenever film, ink, and a heat-sealed closure meet a fill that stresses the bond line.
Delamination is the separation of bonded layers in a laminated film structure, and in pet food pouches it traces to substrate-ink incompatibility, heat-seal drift, or inadequate surface energy.
Most pet food pouch delamination complaints follow the same pattern: the structure looks bonded coming off the line, clears QC, ships to the brand owner, then separates before the sell-by date. By then you are dealing with chargebacks, quarantined finished goods, and a root cause buried between substrate, ink, and seal. This is a particularly common failure point for brands that have recently brought pet food pouch production in-house, where process control is still being tuned.
What makes pet food uniquely demanding is the fill. Fatty, oily, and high-moisture recipes migrate into and stress the bond line over time. A seal that holds at packout can slowly weaken as fats plasticize the sealant or moisture wicks into a marginal laminate bond — which is why so many failures are latent and show up on the shelf, not on the line.
Ink-side delamination
The print layer lifts or ghosts, often at flex points or seal edges. This points toward substrate-ink incompatibility or a surface energy gap rather than a seal problem.
Laminate bond failure
A clear separation appears between film plies — PET from foil, or foil from PE. This is a lamination or adhesive-system issue distinct from either ink adhesion or heat-seal parameters.
Seal-zone delamination
Peeling initiates at or near the heat seal. This is the clearest signal to investigate seal temperature, pressure, and dwell time before looking elsewhere.
Channel leaks
The seal looks intact but leaks under pressure, indicating contamination in the seal path or parameter drift rather than a fully failed bond.
Before troubleshooting, capture the SKU, substrate structure, fill type, production date, shift, and where on the pouch the failure initiates. Delamination that always starts at the seal points to a different root cause than delamination in the print field.
Where the failure shows up | Likely root cause | First diagnostic step |
Print field, away from seals, after a recent ink or film change | Substrate-ink incompatibility or surface energy gap | Run a tape adhesion check against a known-good run |
At or near the heat seal | Heat-seal parameter drift (temperature, pressure, or dwell) | Thermocouple the jaws to confirm actual delivered heat |
Seal looks intact but leaks under pressure | Contamination in the seal path, or parameter drift | Inspect the seal path for fat or dust intrusion |
Metallized layer lifts along with the ink (Met-PET) | Aggressive ink chemistry or poor surface energy on the metallized layer | Verify the ink system is specified for the exact substrate |
Failure appears weeks after packout, not at first-article | Latent bond weakening from fat or moisture migration into the bond line | Run fill-in-package aging tests across the full shelf life |
Substrate-ink incompatibility means the ink chemistry does not form a durable bond with the film surface, so adhesion degrades under mechanical, thermal, or chemical stress.
This is one of the most under-diagnosed causes of flexible pet food packaging failure, because the print can look perfect until the fill and time do their work. Start by mapping the actual film structure — see Arrow’s overview of flexible packaging materials and types for a broader primer — against the ink and adhesive system.
PET/foil/PE
A high-barrier multilayer flexible packaging structure common for premium wet and dry fills. Failures often appear at the foil-to-PE bond when adhesive or seal parameters are off.
Met-PET (metallized PET) structures
The metallized layer is a frequent weak point. Aggressive inks or poor surface energy can lift metallization along with the ink.
Mono-material PE
Increasingly used for recyclability, but PE has naturally low surface energy and is unforgiving on ink adhesion without proper treatment.
Substrate-ink diagnostic checklist:
If adhesion fails in the print field — away from seals — and correlates with a substrate or ink change, incompatibility or a surface energy gap is your primary suspect.
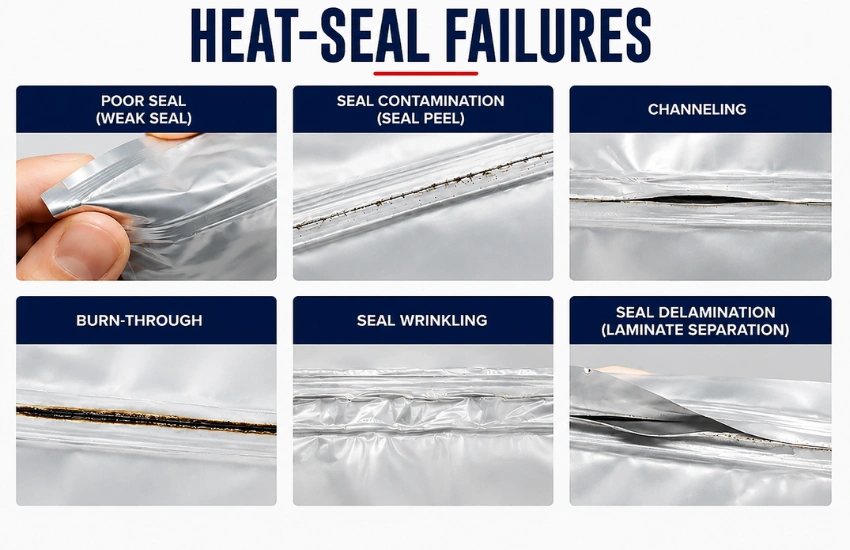
Heat-seal failure occurs when sealant layers do not fuse into a homogeneous bond because temperature, pressure, or dwell time fall outside the sealant’s window, or the sealant is mismatched to the fill.
In pet food, seal integrity is where latent field failures most often originate. Four variables drive every seal, and drift in any one shows up as inconsistent bond strength across shifts and SKUs.
Temperature
Too low and the sealant never fully fuses, producing a cold seal with weak peel. Too high and you can burn through, embrittle, or distort the film. Each sealant resin has a defined seal-initiation temperature and an upper limit.
Pressure
Insufficient jaw pressure leaves voids and channels. Excessive pressure can thin the seal and squeeze out molten sealant, weakening the bond.
Dwell time
Faster line speeds shorten dwell. If temperature is not adjusted to compensate, seals that passed at slower speeds can under-fuse at the new speed.
Material combination
The sealant must match the fill. Fatty fills demand sealants formulated to resist fat migration; high-moisture fills stress the seal differently than dry kibble.
Heat-seal troubleshooting sequence:
Seal windows should be documented per substrate and per fill type, then held with tight parameter control. When settings live in an operator’s head rather than a controlled recipe, shift-to-shift variability becomes inevitable.
Poor ink adhesion on film often traces to inadequate surface energy — the film isn’t receptive enough for ink to wet out and anchor without corona or plasma pre-treatment.
When incoming film treatment has decayed or was never sufficient, offline pre-treatment such as corona or plasma raises surface energy so ink and laminate adhesives bond reliably.
Surface energy target for treated film
Surface energy is measured in dynes/cm. As an illustrative guideline commonly referenced in flexible packaging, treated films for printing and lamination often target roughly the 38–44 dynes/cm range, with demanding structures aiming toward the higher end. Corona and plasma treatment surface energy targets are generally discussed in this same range, though plasma tends to hold its treatment level more consistently on certain resins. Treat this as a starting point to confirm against your own ink, film, and adhesive suppliers — not a fixed specification.
Corona treatment decay in storage
Corona treatment applied at the film mill decays over time in storage, so film that was adequately treated on delivery may read low by the time it reaches your press. That decay is a frequent source of intermittent, hard-to-repeat adhesion failures.
When offline pre-treatment (corona or plasma) is worth adding:
Practical checks: verify surface energy with dyne pens or test inks — a surface tension dyne test — at receiving and again just before print, log readings against film lot and storage date, and confirm inline or offline treatment output is stable — a drifting treater reintroduces the exact variability you are trying to remove.
The most reliable way to prevent delamination is to remove variability — lock seal windows and pre-treatment targets per substrate, verify surface energy before finished goods ship, and control parameters through recipe-driven workflows.
Parameter control by recipe
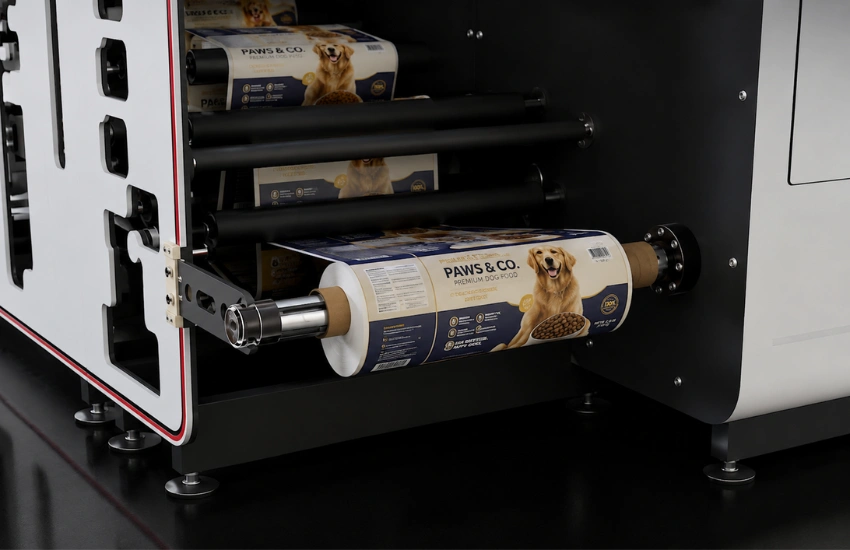
Storing substrate-specific print, cure, and handling settings as controlled recipes reduces the shift-to-shift drift that causes intermittent bond failure.
Inline inspection
Automated inspection can catch print-adhesion and registration issues earlier in the run, before they become field failures buried in a pallet of finished goods.
Operations automation
Tying job data, substrate specs, and process parameters into an automated workflow reduces manual keystrokes and the version and setup errors that quietly undermine bond integrity.
Consistent surface preparation
Pairing digital printing with controlled pre-treatment gives a stable, repeatable surface energy for ink and laminate adhesion.
The ArrowJet Aqua 800M is built for flexible packaging production on film substrates, with Memjet DuraFlex® printheads, water-based pigment inks, and inline flexo stations for priming and varnishing. For film substrates specifically, that inline priming does not replace offline corona or plasma pre-treatment — film adhesion still needs to be verified and treated separately, as covered above. For narrower-web pouch and sachet runs, the ArrowJet Aqua 330R Hybrid Pro M ships with inline primer and varnish stations as standard, with an optional additional flexo station for structures that need it — putting the priming step directly in the production line rather than as a separate offline pass. See Arrow’s full range of digital flexible packaging printers for pouch, sachet, and Mylar production.
Teams that move from ad hoc settings to controlled, verified workflows often see fewer field returns and less scrap on short-run and private-label jobs — though actual results depend on your substrates, fills, and line conditions, and these are illustrative expectations rather than guarantees.
The goal is not a single fix but a repeatable diagnostic and control loop: know your surface energy, hold your seal window, match ink and sealant to substrate and fill, and verify before you ship. None of this replaces validation against your own shelf-life requirements.
Bond and seal performance should be confirmed through your own testing across the full stated shelf life rather than assuming a passing first-article result will hold. Arrow Systems manufactures digital printing and packaging hardware; Arrow does not perform pouch production or fill-in-package validation on a customer’s behalf.
Common questions from quality, production, and packaging engineers troubleshooting recurring pet food pouch failures.
Most pet food delamination is latent, not immediate. A marginal seal or laminate bond can pass first-article inspection, then weaken over time as fats and moisture from the fill migrate into the bond line. Fatty and high-moisture recipes are especially aggressive. The failure was effectively built in at production — it just took shelf time and fill chemistry to reveal it. This is why time-based aging and fill-in-package testing matter more than pass/fail checks at packout.
Look at where the failure initiates. Delamination that starts in the print field, away from seals — especially if it correlates with a recent ink or film change — points toward substrate-ink incompatibility or a surface energy gap. Delamination that starts at or near the seal, or shows up as channel leaks and weak peel, points toward heat-seal parameters (temperature, pressure, dwell) or a sealant-to-fill mismatch. Logging the failure location and the associated SKU, shift, and substrate lot is the fastest way to separate the two.
When incoming surface energy falls below your ink and adhesive supplier’s recommended minimum, or when you run low-surface-energy films like mono-material PE. Corona treatment applied at the film mill also decays in storage, so films that tested fine on delivery can read low weeks later. If adhesion failures are intermittent and track with specific film lots or storage age, verify dyne levels at receiving and just before print — and add controlled offline corona or plasma treatment when readings won’t hold at your target range.
Recurring delamination is rarely random — it is a process signal. If pouches are failing before the sell-by date across your substrates and fills, the fastest path forward is a structured diagnosis of where the bond is actually breaking down.
Arrow Systems, a manufacturer of industrial digital printing and packaging hardware, can walk you through a structured pouch production assessment covering substrate-ink compatibility, heat-seal parameter windows, and pre-treatment requirements for your specific film structures — and how recipe-driven parameter control on a platform like the ArrowJet Aqua 800M reduces the variability behind recurring bond failures.
Learn how flexible packaging is used, how pouches and rollstock differ, which barrier and seal questions matter, and where digital printing fits.
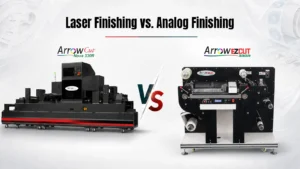
Compare laser and analog label finishing by tooling, changeovers, materials, run length, quality, workflow, and total cost before selecting equipment.

Table of Contents Arrow Systems to Exhibit at LOUPE Americas 2026 Chicago, IL — Arrow Systems Inc. will exhibit at LOUPE Americas 2026, taking place
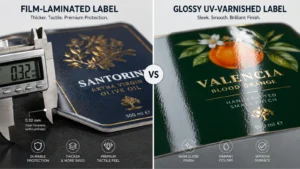
Table of Contents Overlaminate vs. Varnish Labels: How to Choose Protection Film overlaminate protects against immersion, wash-down, and solvents; UV and aqueous varnish suit retail

Table of Contents Digital Label Printers for Stickers and Labels: How to Choose the Right Press The right printer for stickers and labels depends on
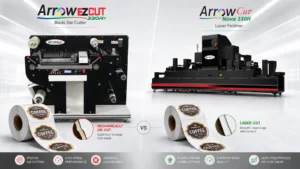
Table of Contents Blade vs. Laser Label Die Cutting: Accuracy, Speed, and Cost per Label Blade die-cutting suits simple shapes and long runs; CO2 laser