Digital Label Converter Equipment for Short-Run Brand Accounts
Table of Contents Digital Label Converter Equipment for Short-Run Brand Accounts Winning short-run brand accounts takes a matched stack: a right-sized digital press, fitted finishing,

A polyimide label substrate is a high-temperature film construction that stays bonded and scannable through reflow, bake, and long service heat.

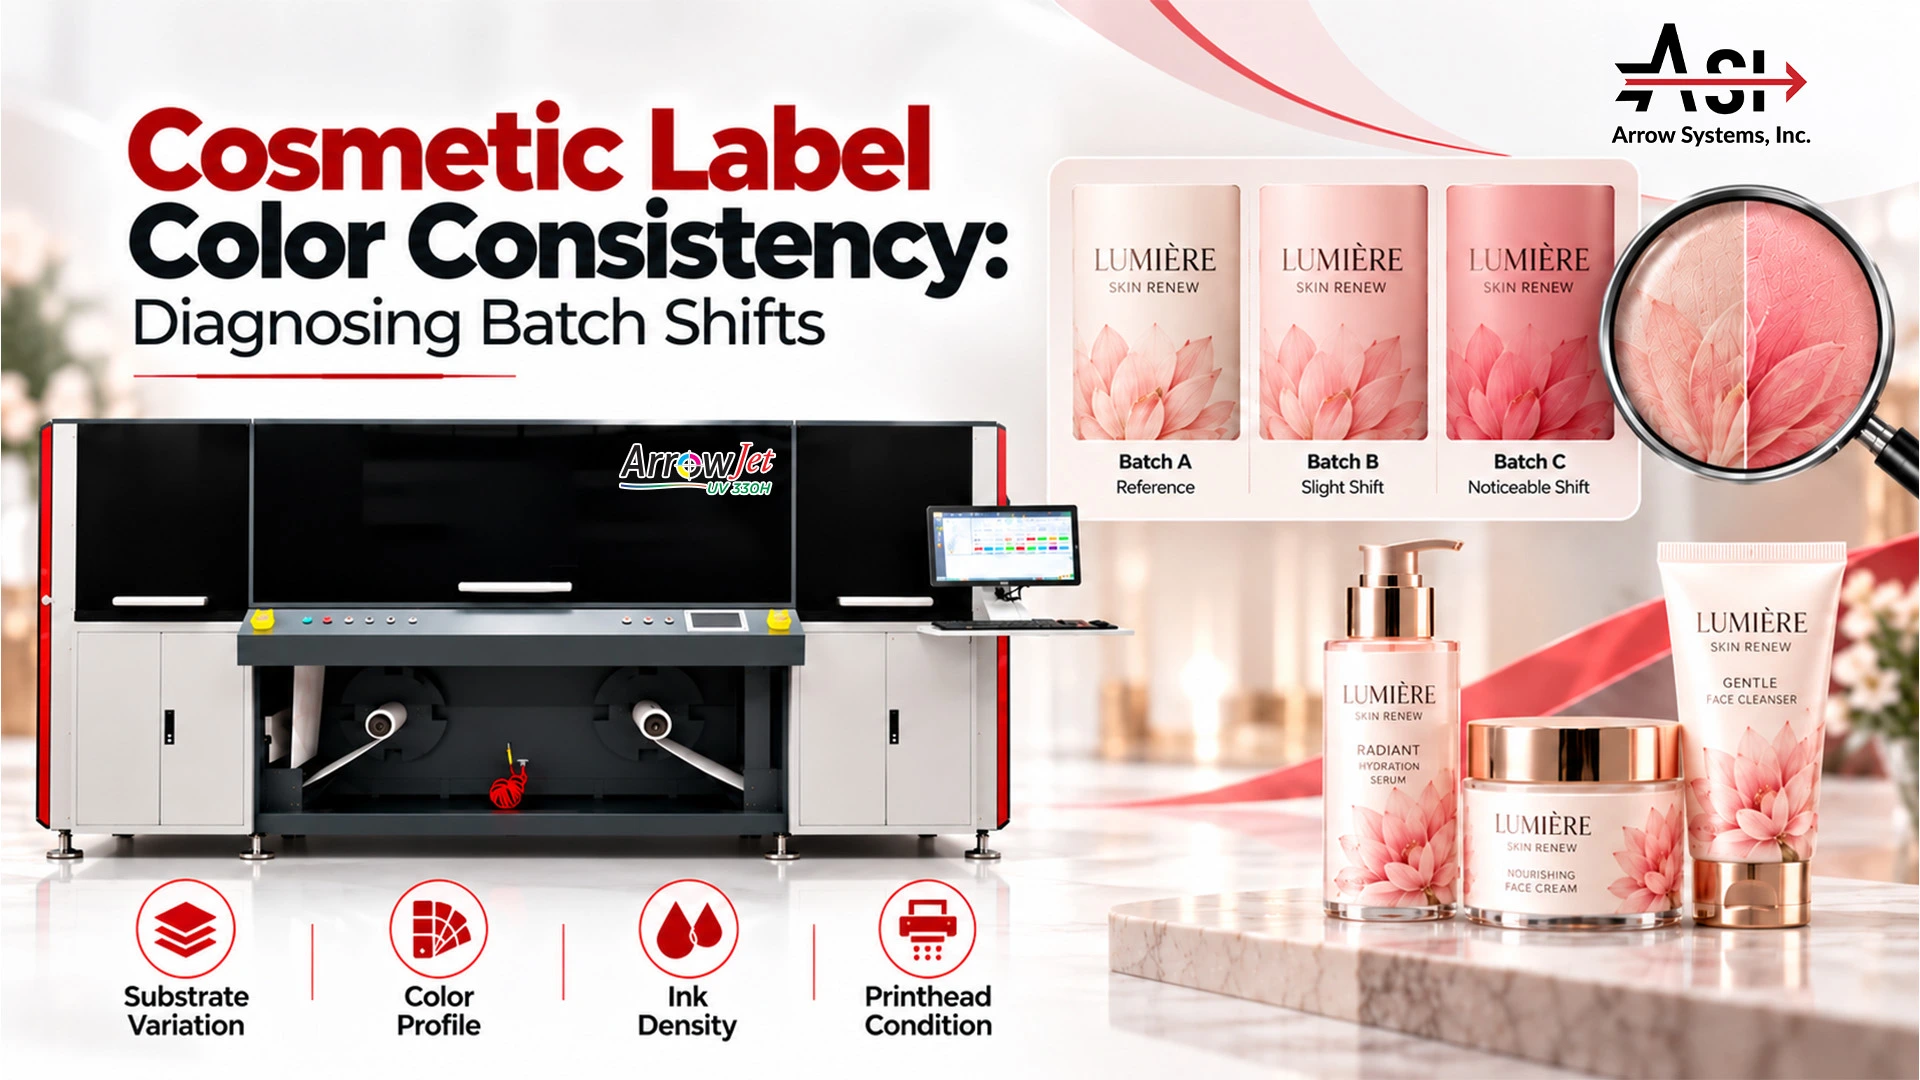
Label color passes through six links, from file to viewing light, and any one of them can change the result while the artwork stays identical.
Design file color space
Artwork arrives as RGB, CMYK, or named spot colors. Each is interpreted differently downstream, and RGB files leave the most room for conversion differences between runs.
RIP and output profile
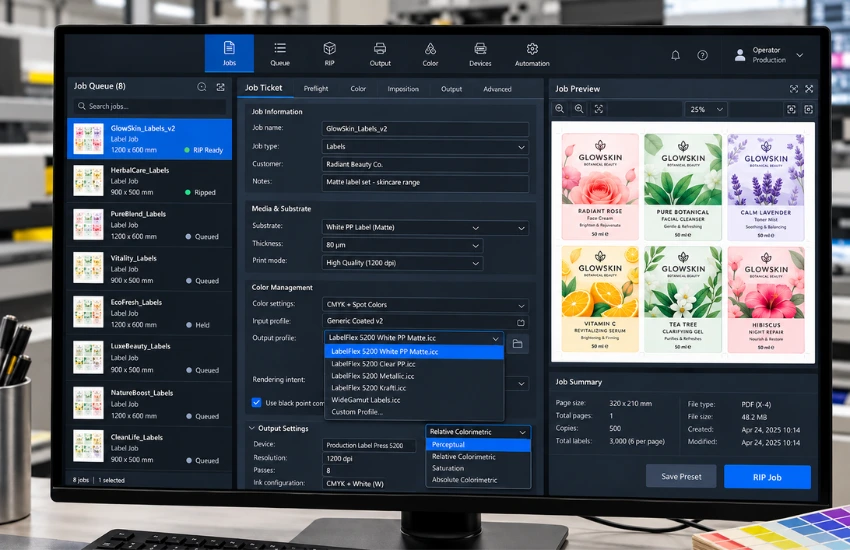
The ICC output profile in the RIP translates file values into ink values for a specific substrate and ink combination. A different profile or rendering intent changes the printed color even when the file is untouched.
Ink set and density
Ink density is how much ink actually lands on the substrate, usually tracked as solid ink density on control patches. It drifts with calibration state, ink lot, and press-room temperature and humidity.
Substrate response
Base whiteness, topcoat receptivity, opacity, and gloss or matte finish all change how the same ink values read. On the digital label printers cosmetic converters run, the substrate is often the largest single variable between reorders.
Finishing
Laminates and varnishes change gloss, and gloss changes perceived saturation and lightness. Match the finishing step on both runs before comparing them; Arrow’s range of label finishing systems covers the lamination and cutting stages where that variable enters.
Viewing conditions
The light source used to judge a label decides the verdict before anyone measures it. ISO 3664 defines standardized graphic-arts viewing conditions based on D50 illumination.
Saturated reds and deep blacks hide small process variation; nudes, beiges, skin tones, and pastel gradients do not. A shift that disappears inside a heavy ink build is obvious in a light tint.
Cosmetics adds three more risks. Clear-on-clear “no-label look” serum labels depend on white ink underprint coverage, which governs every color printed above it. Cold-foil and metallic accents on limited-edition palettes change appearance with viewing angle. Shade-family SKUs are merchandised side by side at shelf, so a small batch-to-batch variation becomes a consumer-visible defect.
Confirm which sample is the actual approved master, confirm it has been stored away from light and heat, and compare both samples under a standardized light source. Teams regularly chase a press problem that turns out to be a faded retained sample judged under a warm overhead fixture.
Run these six checks in order on the most recent rejected batch, and stop as soon as the evidence points to one root cause.
This triage is written for print production, QA, and color management leads at cosmetics brands, contract fillers, and label converters. Diagnosis is elimination: one variable at a time, using evidence you already generate. Guessing costs a shift; structured triage usually costs an hour.
Step 1: Verify the reference and viewing conditions
Pull the dated master sample, inspect it for fade or yellowing, and compare it to the rejected batch in a standardized viewing booth, not at the press under mixed lighting.
Step 2: Measure the unprinted substrate
Take spectrophotometer readings of blank stock from both runs, and compare the roll lot numbers recorded on the two job tickets.
Step 3: Audit the profile and RIP setup
Confirm which output profile, rendering intent, and spot-color recipes the archived job used, and compare them with the current job.
Step 4: Measure density across the roll
Read control patches from the head, middle, and tail of the run, not just from the first labels pulled.
Step 5: Check print head health
Print a nozzle check pattern plus a test target containing light tints and a gradient in the affected color family.
Step 6: Document the finding by root-cause class
Record what you confirmed and what you ruled out, so the next occurrence starts from evidence instead of memory.
Each root cause leaves a distinct symptom pattern, has one confirming test, and has one primary control that prevents a repeat.
Root cause | Typical symptom | Confirming test | Primary control |
Substrate variation between rolls | Uniform warm or cool cast across all tints; clear film looks more translucent | Reprint the file with the archived profile on retained stock from the original lot | Incoming base-color check and lot logging on every roll received |
Missing or misapplied color profile | Selective shift: spot colors off while process graphics look fine; gradient banding changes | Reprint with the archived profile on matched substrate and audit RIP job history | One version-numbered profile per substrate and ink combination, bound to the job ticket |
Ink density drift during long runs | Head of roll matches the master; tail of roll does not | Measure control patches at head, middle, and tail against reference values | Calibration interval by run hours and measurement points built into long runs |
Print head and nozzle condition | Banding, streaking, or a grey cast in pastels and light tints | Nozzle check pattern plus a light-tint and gradient target | Documented purge and maintenance routine by run hours, with start-of-shift nozzle check |
A substrate change shifts every color on the label in the same direction, and it shows most in light tints and on clear film.
What substrate variation looks like
The whole label takes on a slight warm or cool cast, most visible in light areas. On clear film it reads as a change in perceived opacity: a serum label that looked crisp white now looks slightly translucent, letting the bottle contents tint the graphics. Matte, gloss, and metallized face stocks each return a different result from identical ink values.
How to confirm substrate variation
Measure the unprinted substrate from both rolls and compare base whiteness and brightness, then pull roll lot and supplier information from both job tickets. Use the same measurement condition on both readings: ISO 13655 defines measurement conditions M0 through M3, and stocks containing optical brighteners read differently under M0 and M1. The definitive test is a control reprint of the same file, with the same archived profile, on retained stock from the original lot. If the reprint matches the master, substrate is the cause.
How to correct substrate variation
Add an incoming check that records base color readings, lot number, and supplier for every roll received, and quarantine lots outside your accepted window. Lock face stock and topcoat specification per product family instead of allowing substitution by availability.
White ink underprint on clear PET labels
For transparent PET constructions, define white ink underprint coverage as a fixed, documented parameter and measure a white patch on every run, because underprint variation moves every color printed above it. Presses configured for opaque white, such as the ArrowJet UV 330H in its CMYK + White and CMYK + White + Varnish configurations, print white on clear, metallic, and dark substrates, which makes white coverage a job setting that can be recorded and locked like any other recipe value.
A profile error shifts some colors and not others, so brand spot colors move while process graphics on the same label still look right.
What a profile error looks like
The shift is selective rather than uniform. Brand-critical spot colors land off while process graphics look fine, or a pastel gradient changes its banding character between runs. RGB-supplied artwork is a frequent culprit, because the same file converted under a different rendering intent produces a different beige every time.
How to confirm a profile error
Reprint the archived job with the archived profile on matched substrate and compare it with current output. Then audit the RIP job history: which output profile was selected, which rendering intent was used, whether the spot-color recipe came from a locked library or was built on the fly, and whether a press-side adjustment was applied but never saved back into the job. Profiles built for a different substrate and ink combination are a common source of digital label print color shift.
Choosing a rendering intent for label color matching
Relative colorimetric maps the file’s white point to the substrate white and leaves in-gamut colors unchanged, which is why it is a common choice for brand and spot colors. Perceptual compresses the whole gamut to fit, which can move in-gamut colors such as a nude or beige. An absolute colorimetric rendering intent keeps the measured white point, including the substrate’s tint, so it is mainly used to simulate one substrate on another during proofing. Record the chosen intent on the job ticket alongside the profile version.
How to correct a profile error
Maintain one approved, version-numbered profile per substrate-plus-ink combination and bind it to the job ticket instead of leaving selection to the operator. Convert brand colors once into a locked recipe stored in a shared library, and require artwork in a defined color space at intake. Prohibit undocumented press-side tweaks: any adjustment gets measured, approved, saved into the job, and versioned.
Density drift is gradual, so the first labels off the roll match the master while labels from the tail of the same roll do not.
What ink density drift looks like
On a pastel body care gradient, the transition point creeps along the run. On a foundation shade family, two SKUs printed hours apart in the same run no longer sit correctly next to each other. Because the change is gradual, nobody at the press sees it happen.
How to confirm ink density drift
Print control strips or color patches at defined intervals, and read solid ink density and color values at the head, middle, and tail of the roll. Compare the readings to your reference values, not to each other. Check the job record for ink lot changes mid-run, time since last calibration, and press-room temperature and humidity during the run. Cure or pinning variation usually shows up as a density change and a gloss change together.
How to correct ink density drift
Set a calibration interval by run hours and enforce it regardless of schedule pressure. Log ink lot numbers against every job, and hold press-room temperature and humidity within a defined, recorded band. Most importantly, build measurement points into long runs so drift is caught mid-roll instead of at finishing, or after the labels are applied and in transit.
Nozzle problems often read as a hue or lightness shift rather than an obvious defect, and light tints expose them before heavy coverage does.
What a nozzle problem looks like
Banding, streaking, or a faint directional pattern appears in flat tints. A pastel field goes slightly grey, a skin-tone gradient develops a visible step, or a metallic accent loses evenness across its width.
How to confirm a nozzle problem
Print a nozzle check pattern and inspect it for missing or deviated nozzles. Follow it with a test target containing solid tints, light tints, and a gradient in the affected color families, and compare it against the same target printed when head condition was known to be good. Review the maintenance log for purge and cleaning routines, because inconsistent maintenance between shifts is a frequent driver of nozzle-related color problems.
How to correct a nozzle problem
Define maintenance and purge routines by run hours rather than operator discretion, and document each one with initials and time. Include a nozzle check and light-tint target in the start-of-shift routine for shade-sensitive work. Escalate to head servicing or replacement based on measured patterns, not on whether one operator thinks the output looks acceptable.
Printhead redundancy and the nozzle check
Some single-pass printheads are built with nozzle redundancy. The Memjet DuraFlex printhead in the ArrowJet Aqua 330R carries all four CMYK colors in one printhead with 2x redundancy. Redundancy is a design feature, not a substitute for maintenance: keep the start-of-shift nozzle check and light-tint target in place for shade-sensitive cosmetic work on any press.
Diagnosis is reactive; preventing label color drift between batches takes seven standing controls built into every job.
Agree tolerances by color class with the brand
Hold tighter delta E limits on skin tones, nudes, and brand-critical corporate colors than on secondary graphics. Many operations open the conversation in the low single digits for brand-critical colors and somewhat looser for supporting elements. The number, the delta E formula (CIE76 and CIEDE2000 do not agree), and the measurement condition must be confirmed with the brand owner and your equipment supplier before the number means anything.
Version-lock substrate, ink, and profile per product family
Each product family gets one documented recipe with one version number, referenced on every job ticket.
Require measured first-article approval
Visual sign-off alone is where subjective disputes start. Read the control patches, compare them to reference values, and record the numbers before the run is released.
Retain physical master samples with metadata
Store the date, roll lot, profile version, ink lot, and measured values together with each master sample. A reorder six months out is only reproducible if you know exactly what produced the original.
Standardize viewing conditions
Use one booth, one defined light source, and one evaluation procedure, trained the same way on every shift.
Set calibration and head-maintenance intervals by run hours
Publish the intervals at the press and audit adherence on a schedule.
Log every exception by root-cause class
Classify each color complaint as substrate, profile, density, or head. Patterns usually emerge within a quarter.
Manual color control depends on whoever is at the press. Job-ticket-driven profile selection removes the chance of the wrong profile being applied, and inline or automated color measurement catches density drift mid-roll instead of at finishing.
Automatic logging of roll lot, profile version, ink lot, and measured readings builds the audit trail that lets a converter answer a brand complaint with data instead of recollection. The biggest gain is usually not tighter color; it is consistency that survives staffing changes.
Common questions from print production, QA, and color management leads diagnosing color shifts between cosmetic label batches.
When the artwork has not changed, the shift almost always comes from a process variable: a different substrate lot, a different output profile or rendering intent, ink density drift, or print head condition. Check them in that order against a verified master sample, using spectrophotometer readings rather than visual judgment.
There is no universal number. Tolerances should be negotiated with the brand and documented by color class, with tighter limits for skin tones, nudes, and primary brand colors than for background graphics. Low single-digit delta E values are commonly used to open the discussion, but the acceptable limit depends on the delta E formula, instrument and measurement condition, substrate, and finishing. Confirm all of it with the brand owner and your equipment supplier, then write it into the job specification so approval stops being a shift-to-shift argument.
Not identically. A clear PET label with white underprint, a metallized face stock, and a matte paper stock each render the same file differently, because gloss, base color, and ink receptivity differ. What is achievable is a controlled match within an agreed tolerance, using a separate profile per substrate and, where needed, adjusted color builds. Decide early whether the shade family shares one substrate for visual consistency at shelf, or whether per-substrate targets and tolerances get defined and approved individually.
Treat calibration and profiling as two separate intervals. Calibration verifies the press against its known state and is typically run daily or by accumulated run hours, and again after head service, ink lot changes, or significant environmental swings. Full re-profiling is needed when you introduce a new substrate, ink set, or press configuration, or when calibration can no longer bring the press back to reference. Confirm specific intervals with your equipment supplier and validate them against your own measured drift data.
Substrate choice and ink chemistry also shape how much color variation a cosmetic label line has to manage. For a scenario-by-scenario comparison, see Arrow’s guide to UV vs. aqueous inkjet for custom cosmetic labels.
Operations that stop arguing about color lock down substrate, profiles, density, and head maintenance, and make measurement part of every job.
Start concretely. Run the six-step triage on your most recent rejected batch and name the root-cause class. Then take your highest-risk shade family, usually the foundation or complexion line, and formalize two things for it: documented tolerances agreed with the brand, and measured first-article approval.
If your cosmetics brand, contract filling, or converting operation is evaluating a digital label press for shade-sensitive work, Arrow Systems offers a structured, no-obligation press assessment for production, QA, and procurement leaders.
The assessment reviews your substrates, ink and white-underprint requirements, finishing path, and run lengths to recommend an ArrowJet press and Arrow finishing configuration. Request sample prints on your own substrates to evaluate color before you commit.
Table of Contents Digital Label Converter Equipment for Short-Run Brand Accounts Winning short-run brand accounts takes a matched stack: a right-sized digital press, fitted finishing,
Table of Contents Co-Packer Label Printing Workflow: 30 Brands, One Digital Press A co-packer label printing workflow lets one digital press run labels for dozens
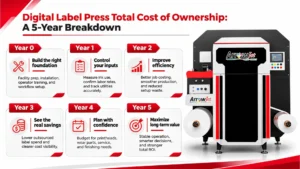
Table of Contents Digital Label Press Total Cost of Ownership: A 5-Year Breakdown Digital label press total cost of ownership is the five-year cost to
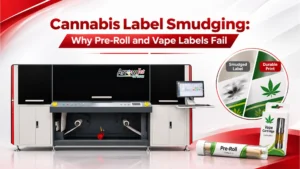
Table of Contents Cannabis Label Smudging: Why Pre-Roll and Vape Labels Fail Cannabis label smudging on pre-roll tubes and vape carts has four causes: unprotected

Table of Contents Label Converter Finishing Capacity: Adding Blade and Laser Lines Label converter finishing capacity falls short from volume, job mix, or both. Diagnose
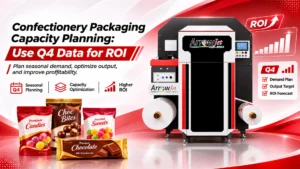
Table of Contents Confectionery Packaging Capacity Planning: Use Q4 Data for ROI Confectionery packaging capacity planning works best on cost data logged during Q4 peak,