Diagnosing Supplement Label Peeling HDPE Bottle Failures
Table of Contents Diagnosing Supplement Label Peeling HDPE Bottle Failures HDPE label peeling traces to low surface energy, an adhesive mismatch, or moisture exposure —

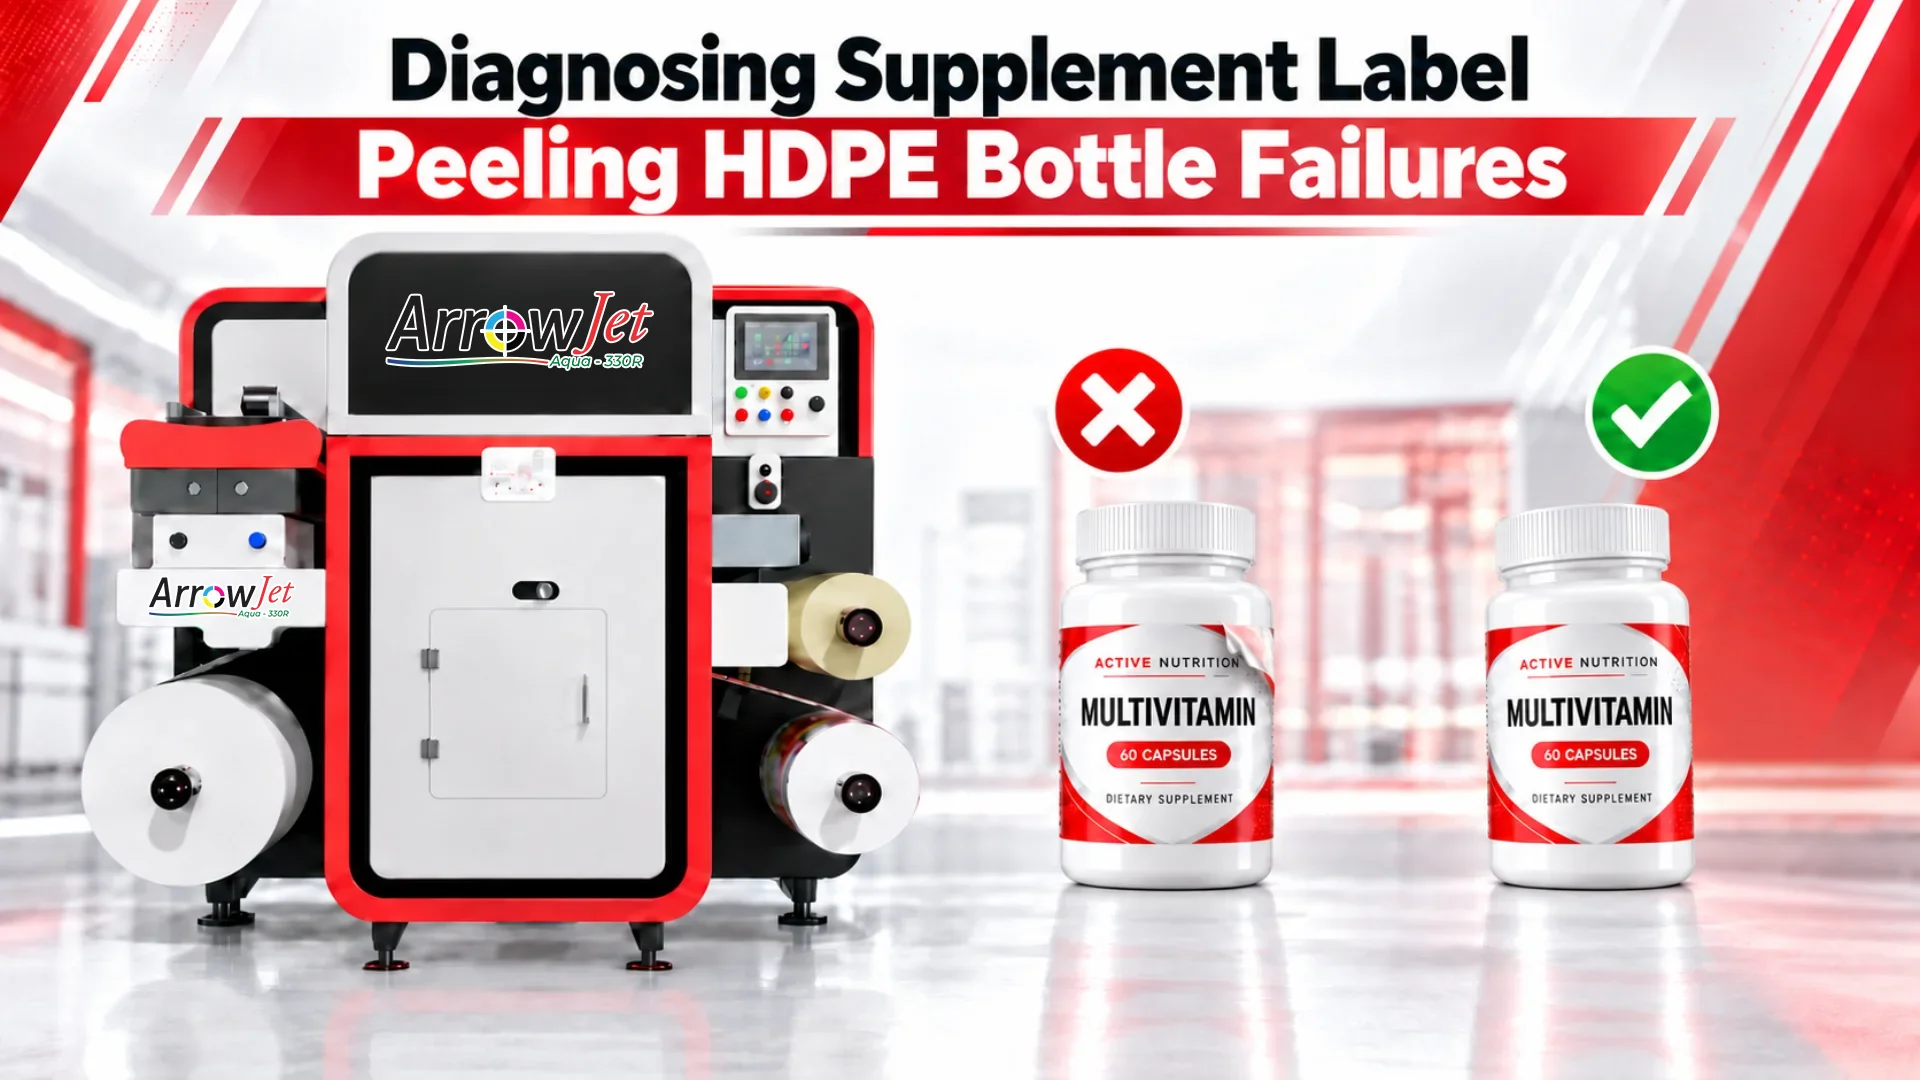
HDPE label peeling traces to low surface energy, an adhesive mismatch, or moisture exposure — diagnose in that order before reordering material.
HDPE’s non-polar surface, blow-molding residues, and tight-radius nutraceutical bottles combine to make adhesion failure the default outcome.
Choosing the right HDPE bottle label adhesive starts with understanding why this substrate resists bonding in the first place. HDPE (high-density polyethylene) is a non-polar polyolefin. There is very little chemical polarity at the surface for an adhesive to interact with, so the adhesive must do the work through physical flow and mechanical contact. That is a fundamentally different bonding situation than glass, coated paperboard, or PET.
Blow molding layers process variables on top of the chemistry:
Mold release and slip additives
These leave a thin, invisible film on the bottle surface that behaves like a release liner, preventing the adhesive from contacting bare HDPE.
Additive bloom
Antistats, lubricants, and processing aids migrate to the surface over days or weeks, degrading a panel that tested acceptable at receiving.
Residual warmth and off-gassing
Bottles labeled too soon after molding interfere with initial wet-out because the surface is still releasing heat and volatiles.
Post-mold cooling and static
Uneven cooling and static charge change how cleanly labels track and seat on the applicator.
Nutraceutical SKUs compound all of it. Small-diameter capsule bottles and 8 oz softgel rounds hold a stiff facestock in constant tension around a tight radius. Gummy jars carry elevated internal moisture. Softgel, fish oil, and MCT lines put a fine oil mist on nearby surfaces, while induction sealing and desiccant insertion add handling steps where gloves transfer residue to the label panel.
HDPE label adhesion failures usually surface 24 to 72 hours after application, not at the label station. Initial tack looks fine. What fails is the slower process of the adhesive flowing into the surface and building ultimate bond strength.
Wet-out and adhesion are two separate stages, and HDPE’s low surface energy stops many adhesives from ever fully wetting in.
Wet-out is whether the adhesive spreads and makes intimate contact with the surface. Adhesion is the bond strength that develops afterward. A label can wet out just enough to hold overnight and still lose the fight to facestock memory by day three.
Untreated HDPE sits at the low end of the surface-energy scale for common packaging substrates — well below glass, PET, or coated paperboard. Published dyne figures vary with resin, additive package, and bottle age, so treat any single number as directional and verify on your own panels. When surface energy falls below what a general-purpose acrylic pressure-sensitive adhesive needs, the adhesive never fully flows in, and the stored spring energy in a curved label eventually wins.
Surface energy testing plastic labels doesn’t require a lab — three checks below work with equipment already on hand. Run the dyne test label adhesion check first: it’s the fastest of the three and rules out the most common failure mode.
Dyne pen testing
Draw a line on the actual label panel with a dyne pen. If the ink beads or pulls back within a couple of seconds, that dyne level sits above the surface energy — step down until the line holds.
Water-break observation
Wipe a panel with distilled water. A film that immediately breaks into droplets signals a contaminated or very low-energy surface.
Contact-angle spot checks
Useful when you have meter access — a quantifiable reading you can use to argue lot quality with a bottle supplier rather than a visual read alone.
Dyne-test incoming bottles by lot, and retest bottles that have aged in inventory. Lot-to-lot and age-related variation is why the same label stock can run clean in June and fail in August.
Read the failure signature first, then run a controlled dwell test, then audit the applicator before you reorder material.
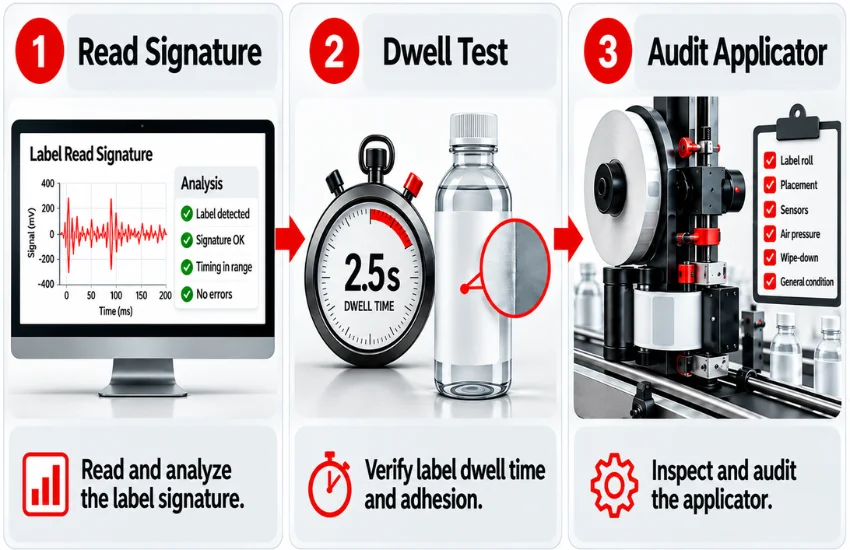
Match what you observe on the bottle to the most likely cause before changing any material.
Failure signature | Likely cause | First corrective action |
Edge lift or flagging at the leading or trailing edge | Facestock too stiff for panel curvature; insufficient dwell or wipe pressure | Increase wipe-down contact and pressure; test a conformable film facestock |
Clean release, no adhesive left on the bottle | Wet-out failure — low-surface-energy plastic mismatched to the label adhesive | Dyne-test the panel; move to an adhesive rated for polyolefins |
Adhesive transferred to the bottle, facestock lifts away | Cohesive failure or over-plasticized adhesive; oil or plasticizer migration | Review fill residue and adhesive class; specify a firmer, oil-resistant chemistry |
Tunneling, bubbling, or wrinkling | Film shrinkage, moisture in the liner, or trapped air from poor panel fit | Check storage humidity for label rolls; verify label size against panel geometry |
Cloudy, milky, or darkened adhesive | Moisture ingress at the interface | Trace condensation and wash-down exposure; add a laminate and a moisture-resistant adhesive |
Step 1: Pull traceable samples
Pull bottles from at least two lots and labels from at least two lots. Keep both traceable back to their source.
Step 2: Hand-apply control samples
Apply with firm, uniform pressure — squeegee or roller, same technique every time — to remove applicator variability from the test.
Step 3: Log behavior at 1, 24, and 72 hours
Note at each checkpoint whether failure is clean release, adhesive transfer, or edge lift.
Step 4: Hold duplicates at ambient and elevated conditions
Simulate summer warehousing and transit by holding a duplicate set at elevated temperature and humidity alongside the ambient set.
Step 5: Change one variable at a time
Test a new adhesive, or a new facestock, or a new surface prep — never all three at once — so the result is attributable to a single change.
Before you blame the material, confirm the line:
Moisture acts after the product leaves your control, accelerating HDPE label failures during transit, storage, and cold-to-ambient transitions.
Moisture is the variable most often missed in substrate compatibility reviews, because it acts after the product leaves your control.
Mechanically, moisture weakens the adhesive-to-substrate interface, wicks in from cut edges, softens paper facestocks so they cockle and lose dimensional stability, and can delaminate a poorly bonded overlaminate.
Four practices are worth standardizing:
Facestock, adhesive class, surface treatment, and topcoat each shift independently — match all four to the bottle and fill, not just one.
Conformable films (BOPP and polyethylene)
Flex with curved and squeezable bottles instead of fighting them. Polyethylene facestocks are the most forgiving option on small-diameter and squeeze containers.
Paper facestock
Costs less and prints well, but is stiffer and more moisture-sensitive — a frequent contributor to edge lift on tight radii.
Picking the right adhesive for polyolefin labels comes down to three chemistries, each with a different strength-versus-tradeoff profile.
Aggressive or all-temperature acrylic
Good clarity and good aging; workable on treated or higher-energy HDPE.
Modified acrylic
Better initial tack and wet-out on marginal polyolefin surfaces.
Rubber-based (tackified)
A rubber-based adhesive label construction is typically the strongest performer on very low-surface-energy polyethylene, with trade-offs in temperature range, oil resistance, and yellowing.
Corona or flame treatment at the bottle supplier, or an HDPE label primer, raises surface energy and can rescue a marginal combination. Treat it as a legitimate engineering control when bottle chemistry is fixed. Treatment decays over time, so specify a treatment level and a shelf-life window rather than relying on it as a permanent fix.
An overlaminate or varnish protects against shipping abrasion, moisture wicking, and handling smudge. It also stiffens the construction slightly, so re-test conformability after adding it.
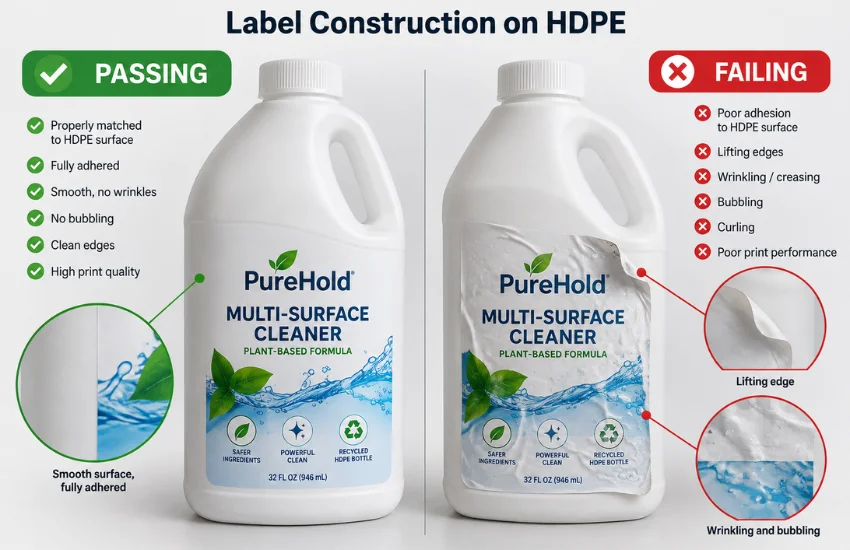
Treat this table as a starting filter, not a verdict — verify against your own bottles, fill, and applicator.
Product type | Facestock | Adhesive | Notes |
Dry capsules and tablets, straight-wall bottles | Paper or BOPP | Modified acrylic | — |
Softgels and oils | Film facestock | Oil-resistant adhesive | Add a laminate |
Gummy jars | Film facestock | Moisture-resistant adhesive | Add a laminate |
Powders and large tubs | BOPP | All-temperature acrylic | Watch scoop-handling abrasion |
Refrigerated probiotics | Conformable film | All-temperature or rubber-based | Add a laminate |
Recyclability and store-drop-off considerations vary by material and program, so verify any claim with your material supplier and your own regulatory and QA review. The same applies to supplement facts panel legibility expectations — confirm those internally against your labeling standard.
Water-based inkjet needs an engineered facestock — uncoated film will not hold aqueous ink from the ArrowJet Aqua 330R reliably.
Water-based inkjet platforms such as the ArrowJet Aqua 330R — a roll-to-roll aqueous pigment inkjet label press built on Memjet DuraFlex® print technology — deposit water-based ink, so the facestock has to be engineered to receive it. The press runs up to 195 ft/min across three speed tiers, prints up to a 380mm (15″) max media width, and is Nestlé Guidance Compliant — with established use across nutraceutical and supplement label production, food & beverage, cosmetics, pharmaceutical, and flexible packaging applications.
Build the spec around five items:
Inkjet-receptive topcoat
Matched to water-based ink chemistry so the aqueous ink sits on the surface correctly rather than beading or over-absorbing.
Facestock chosen for panel curvature and squeeze behavior
Selected from the conformable-film and paper options above based on the bottle’s shape and how much hand-squeezing the SKU sees.
Adhesive class selected for low-surface-energy substrates
Chosen explicitly for HDPE and other polyolefins — not a general-purpose acrylic sized for higher-energy surfaces.
Liner appropriate to your applicator and dispensing speeds
Matched to line speed so the label dispenses cleanly at production rate without misfeeds.
Laminate or varnish for distribution durability
Added for moisture and abrasion resistance once the SKU’s transit and storage conditions are known.
Handle the printed roll deliberately: allow the manufacturer-recommended dry time before lamination or application, control roll tension, and store rolls in conditioned space. Qualify every new construction on a filled production bottle in your own environment, not on a sample plaque.
Print-on-demand and in-house digital label production help indirectly here. Producing labels close to the run reduces obsolete-stock substitutions, and inline inspection catches defects before they reach a quality hold.
Common questions from nutraceutical packaging, QA, and operations teams diagnosing supplement label adhesion failures on HDPE bottles.
Run the same label lot on bottles from two different lots or suppliers, then run two label lots on the same bottle lot. If failure follows the bottle, dyne-test the panel and examine mold release, additive bloom, and bottle age. If it follows the label, look at facestock stiffness, adhesive class, and roll storage conditions. Lot traceability on both sides is what makes the result conclusive — without it, vendors will keep pointing at each other.
Often yes, when the bottle spec cannot change. Corona or flame treatment at the bottle supplier raises surface energy so the adhesive can wet out, and primers can achieve the same effect at the label level. The caveat is decay: treatment weakens with time and storage, so you need a defined treatment level and a use-by window. If your adhesive only works on freshly treated bottles, you have built a fragile process — prefer an adhesive that holds untreated HDPE, and use treatment as added margin.
Do not judge at the label station. Check at 1 hour for wet-out and initial tack, at 24 hours for early edge lift, and at 72 hours for the behavior that best predicts field performance. Hold duplicates at elevated temperature and humidity for one to two weeks if the SKU ships through variable climates or sits in non-conditioned warehousing. Many teams also retain a set through the product’s first distribution cycle before releasing a new material spec.
Adhesion is a function of the facestock, adhesive, and surface — not the printing method. A digitally printed label on an inkjet-receptive stock with an adhesive selected for polyolefins performs comparably to converter-printed stock built on the same construction. What changes is ink chemistry and handling: water-based inkjet needs a compatible topcoat and adequate dry time before lamination and application. Qualify the digital construction on your production bottle exactly as you would qualify any new pre-printed stock.
Arrow Systems manufactures the ArrowJet Aqua 330R and other water-based inkjet label printing systems used by nutraceutical brands and contract manufacturers running HDPE bottle SKUs.
Send a sample bottle and label, and our team will review facestock, adhesive class, and topcoat against your specific bottle chemistry and fill — rather than a generic compatibility chart.
Table of Contents Diagnosing Supplement Label Peeling HDPE Bottle Failures HDPE label peeling traces to low surface energy, an adhesive mismatch, or moisture exposure —
Table of Contents Roll-to-Roll vs. Sheet-Fed Label Printing: Throughput & Cost Rolls win on cost per applied label with an automatic applicator; sheets win on
Table of Contents Pet Food Brand Label Supplier Problems: 5 Signs to Print In-House Most pet food label supplier problems are a model mismatch: flexo’s
Table of Contents Coffee Roaster Flexible Pouch Printing Workflow: Roll to Bag In-house coffee pouch printing runs five stages — substrate loading, queue setup, the
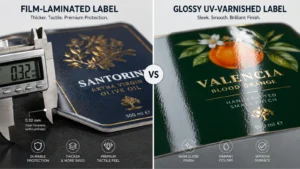
Table of Contents Overlaminate vs. Varnish Labels: How to Choose Protection Film overlaminate protects against immersion, wash-down, and solvents; UV and aqueous varnish suit retail
Table of Contents Blade vs. Laser Label Die Cutting: Accuracy, Speed, and Cost per Label Blade die-cutting suits simple shapes and long runs; CO2 laser