Pet Food Brand Label Supplier Problems: 5 Signs to Print In-House
Table of Contents Pet Food Brand Label Supplier Problems: 5 Signs to Print In-House Most pet food label supplier problems are a model mismatch: flexo’s
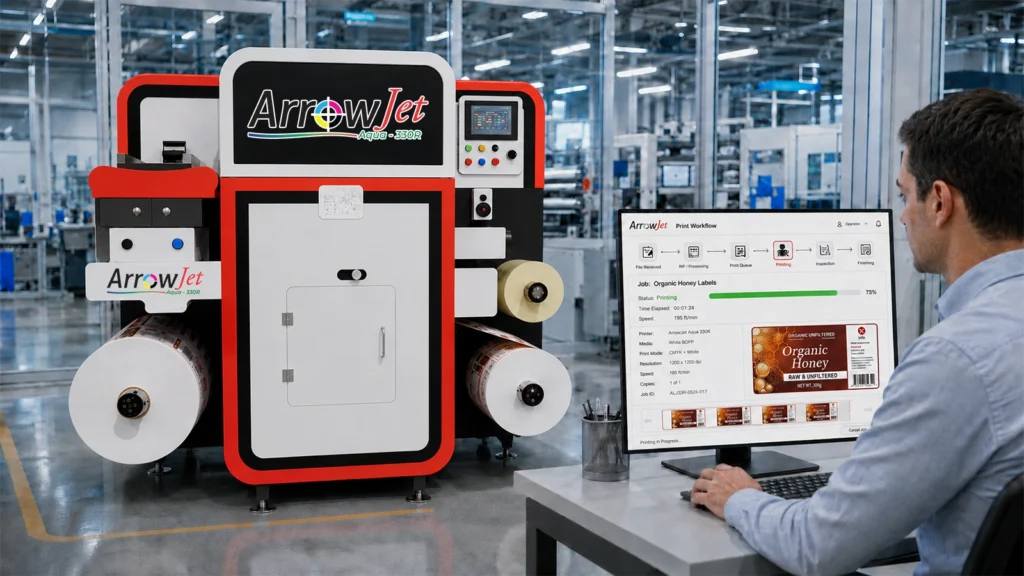
In-house label printing moves through six stages — pre-press, RIP, press setup, printing, finishing, and QC — from file to finished roll.
Most label defects that reach finished rolls trace back to problems baked into the file before the press ever ran.
Label pre-press is the umbrella term for this stage — file setup, color proofing, and RIP processing — and it’s where most finished-roll defects originate before a single label prints.
Label print file preparation covers the details that determine whether a design prints cleanly:
Bleed and safe zones
Artwork should extend slightly past the die line so trimming variance never exposes a white edge. A small bleed margin is the standard safeguard against this.
Resolution
Raster images need adequate print resolution at final size to avoid soft or pixelated edges once printed at full scale.
Color definition
The operator confirms whether colors are process (CMYK builds) or spot colors targeting a specific brand value, since the two behave differently on press.
Barcode integrity
Barcodes need correct quiet zones, sufficient contrast, and appropriate bar width so they scan reliably. GS1 publishes the quiet-zone and bar-width standards these checks reference.
Once files are validated, the label print proof workflow begins. Color proofing compares the file against a defined target — often a brand color reference — so mismatches are caught on a proof rather than on thousands of finished labels. If a corporate blue drifts toward purple, that’s a proof-stage conversation, not a scrapped run.
RIP (Raster Image Processor)
The software that translates a design file into the precise instructions the press needs — converting vectors and images into a printable dot pattern and applying a color profile matched to the substrate and ink set. Good RIP software label printing setup means the profile fits the material actually being printed on; a profile built for glossy film but applied to uncoated paper is a common, avoidable source of color inconsistency.
With the file ripped and approved, attention shifts to matching substrate, tension, registration, and color profile on the physical press.
This substrate-to-profile sequence is the same regardless of which in-house label printer runs it. Arrow Systems’ ArrowJet Aqua 330R, ArrowJet Eco 330R, ArrowJet Aqua 330R Hybrid Pro M, and ArrowJet UV 330H are the digital label press platforms this pre-press-to-print workflow is built around — the right platform for a given operation depends on substrate range, ink chemistry, and run-length profile rather than the workflow itself, which stays consistent across the range.
A disciplined operator never commits a full run without first checking a sample against spec — that check is first article approval.
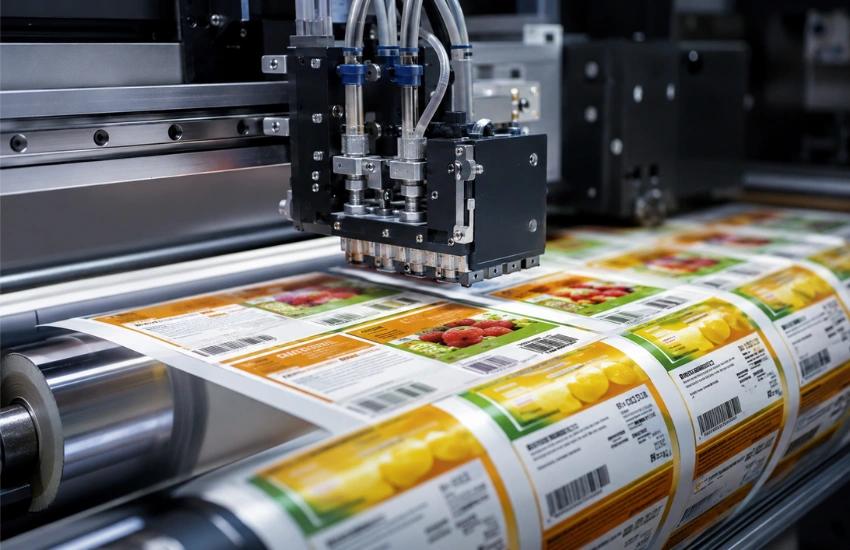
The first article is the first printed label (or short sequence) pulled and inspected against spec before the run proceeds. First article approval means the operator confirms:
A good first article looks like the proof and scans clean. A bad one shows color drift, fuzzy edges, or a barcode that fails to read. Catching it here saves the entire run.
Once the run is committed, monitoring continues throughout. Operators watch for color consistency across the length of the roll, registration drift as tension or speed shifts, barcode scannability on periodic pulls, and print defects such as streaks, voids, or ink spatter.
This is where operations automation meaningfully reduces manual error. When approved files flow directly into the workflow — versioned, scheduled, and matched to the correct print profile — the operator isn’t re-keying data or hunting for the current revision. Automated file handoff and version control mean the label that runs is the label that was approved, and production can be triggered by the schedule rather than a separate procurement request. That connection is what turns on-demand label production into a repeatable capability instead of a scramble.
A printed web is not a finished roll — finishing is where the physical label takes its final, applicator-ready shape.
This stage covers label die-cutting and finishing — the point where a printed web becomes individual, applicator-ready labels on a roll.
Lamination
A clear laminate or protective coat applied over the print to guard against abrasion, moisture, and fading. Lamination protects legibility — especially barcodes and small regulatory text — and extends durability in demanding environments.
Die-cutting
The process of cutting the label shape through the face material while leaving the backing liner intact. This defines the label outline that will eventually peel off on the line.
Matrix stripping
After die-cutting, the leftover waste material around each label — the matrix strip, sometimes called the “skeleton” of face stock between labels — is pulled away and removed, leaving only the labels on the liner.
Slitting and rewinding
If the printed web is wider than a single lane, it’s slit into finished-width rolls. The label rewind process then winds those labels back onto cores for use on an applicator.
Rewind specs matter because the applicator has requirements:
Rewind direction
Which way the label faces as it unwinds, commonly specified by unwind position, must match the applicator.
Rewind tension
The tightness of the finished roll. Too loose and the roll telescopes or slips; too tight and labels can distort or bleed adhesive.
Core size
The inner core diameter must fit the applicator’s spindle. Getting rewind direction, tension, and core size right is the difference between a roll that runs and a roll that jams on the line.
Arrow’s blade, laser, and semi-rotary finishing systems cover the lamination, die-cutting, matrix removal, and rewinding steps described above.
Arrow EZCut 330R+ — flatbed and roll-to-roll blade die cutting
The EZCut 330R+ is a flatbed and roll-to-roll hybrid blade die cutter with a maximum cutting width of 350 mm, cutting accuracy of ±0.1 mm, and a maximum speed of 150 cuts per minute. It handles self-adhesive, PP synthetic, PET, PVC, aluminum plastic film, and other flexible materials, with cold lamination available inline.
Arrow EZCut 350R — higher-throughput multi-blade roll-to-roll cutting
The EZCut 350R is a dedicated roll-to-roll multi-blade cutter with up to 6 cutting heads, a cutting speed of 9 m/min, slitting speed up to 100 m/min, and die-cutting precision of ±0.1 mm across a maximum label width of 330 mm. Inline sheeting and barcode-triggered automatic job changeover support multi-SKU production runs.
ArrowCut Nova 330R and 250R — CO₂ laser finishing without physical dies
The ArrowCut Nova 330R runs a 150W CO₂ laser across a 13.7″ web at up to 10,000 labels per hour, with inline lamination, matrix removal, and slitting. The compact ArrowCut Nova 250R runs a 125W laser across a 250mm web at up to 25 m/min. Laser finishing cuts, kiss-cuts, perforates, and etches without a physical die — useful for short-run jobs or frequent shape changes where die tooling cost is hard to justify.
Aries — semi-rotary finishing with a magnetic die
The Aries is a single-pass semi-rotary label finisher running up to 30 m/min, using a flexible magnetic die plate to laminate, die-cut, strip matrix, and slit in one pass across up to 330mm of media. It supports both printed and unprinted media and is built for consistent, higher-volume label shapes.
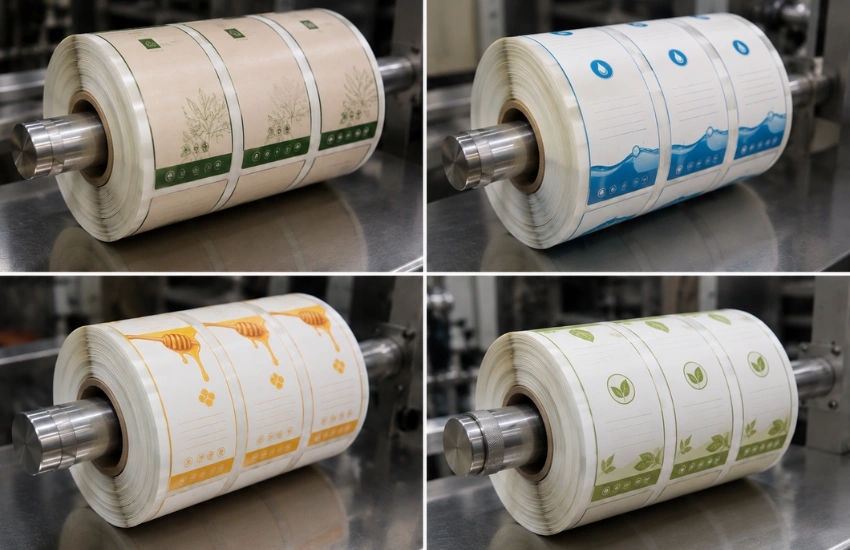
The final inspection confirms the finished roll matches spec — size, color, barcode, count, and rewind orientation — before it leaves production.
The final stage in the label quality control process confirms the finished roll matches spec before it moves to production or shipping.
Spec match
Size, substrate, and finish match the work order.
Color
Consistent with the approved first article and brand target.
Barcode
Scans cleanly on a representative sample.
Label count
Quantity on the roll matches the order.
Orientation and rewind
Direction, tension, and core match the applicator requirements.
Defect check
No missed labels, matrix remnants, laminate wrinkles, or die-cut nicks.
Finally, the run is documented for traceability — material lot, profile used, quantity, and any exceptions. This record closes the loop and gives a root-cause trail if a downstream issue ever surfaces.
Running the file-to-finished-roll process in-house changes lead time, MOQ, versioning control, and setup waste versus outsourced converting.
Factor | Outsourced Converting | In-House Digital |
Lead time | Often days to weeks, depending on run and finishing complexity | Routine reprints often same-day or next-day |
Minimum order quantity | Frequently high MOQs that force overproduction | Typically viable at much lower quantities |
Versioning control | Each revision is a new order cycle | A revision is a file update |
Setup and waste | Setup and startup waste per run | Often shrinks as operators standardize profiles |
Directional comparison; actual results depend on setup discipline, volume, and SKU mix.
In-house tends to make sense when SKU mix is high, run lengths are short-to-mid, versioning is frequent, and turnaround pressure is real. Staying outsourced can remain sensible for very high-volume, stable, single-design runs where converting economies dominate. This is where pre-press-to-print workflow control pays off most: when artwork changes are constant, owning the file-to-roll chain removes the order cycle from every revision.
Much of that lead-time and setup-waste gap traces back to plates. Traditional flexography and digital flexography presses still rely on plates or plate-like cylinders to transfer an image, so a design change means a new plate before the next run. Digital flexo printing configurations reduce that dependency but don’t remove it entirely. A purely digital inkjet workflow — the kind described throughout this guide — skips plates altogether, which is why revision cycles and short runs favor it.
Common questions from operations and production managers evaluating whether to bring label printing under their own roof.
Print-ready artwork with correct bleed, adequate resolution, clearly defined process or spot colors, and validated barcodes. On the equipment side, a RIP configured with a color profile matched to the substrate and ink, plus registration and web-tension settings dialed to the material.
It varies with run length and finishing needs, but a routine short run can often move from approved file to finished, checked roll within hours once the process is standardized. First-article approval and finishing setup are the main variables — these are illustrative ranges, not guarantees.
Most defects originate upstream — bad files, wrong RIP or color profiles, substrate mismatches, or finishing errors like poor rewind tension. The strongest safeguards are proofing against a defined target, first article approval before the full run, in-process monitoring, and a documented final inspection.
The pre-press-to-finished-roll sequence described here applies across Arrow’s digital label press range — the ArrowJet Aqua 330R, ArrowJet Eco 330R, ArrowJet Aqua 330R Hybrid Pro M, and ArrowJet UV 330H — since the workflow stages are the same regardless of ink chemistry or press configuration. Substrate range, ink type, and run-length economics determine which platform fits a given operation.
Arrow Systems (industrial label printing and finishing hardware manufacturer) can help you evaluate whether an in-house workflow fits your production environment.
The assessment maps your volume, SKU mix, and substrate needs against Arrow’s digital label press and finishing hardware range to identify the configuration that fits how your operation actually runs.
Table of Contents Pet Food Brand Label Supplier Problems: 5 Signs to Print In-House Most pet food label supplier problems are a model mismatch: flexo’s
Table of Contents Coffee Roaster Flexible Pouch Printing Workflow: Roll to Bag In-house coffee pouch printing runs five stages — substrate loading, queue setup, the
Table of Contents Overlaminate vs. Varnish Labels: How to Choose Protection Film overlaminate protects against immersion, wash-down, and solvents; UV and aqueous varnish suit retail
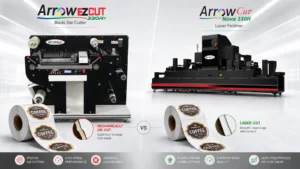
Table of Contents Blade vs. Laser Label Die Cutting: Accuracy, Speed, and Cost per Label Blade die-cutting suits simple shapes and long runs; CO2 laser
Table of Contents GHS Label Durability Failure: 4 Causes and Practical Fixes GHS label durability failures trace to four causes: aqueous ink chemistry, paper face
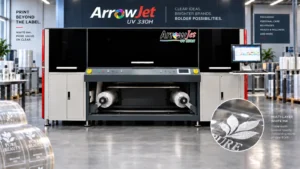
Table of Contents White Ink Clear Label Printing: When You Need It and Why White ink under clear film keeps brand color, mandatory copy, and