Energy Efficiency in Label Printing Operations
Table of Contents Energy Efficiency in Label Printing Operations Energy efficiency in label printing operations means producing the same output with less energy, less waste,

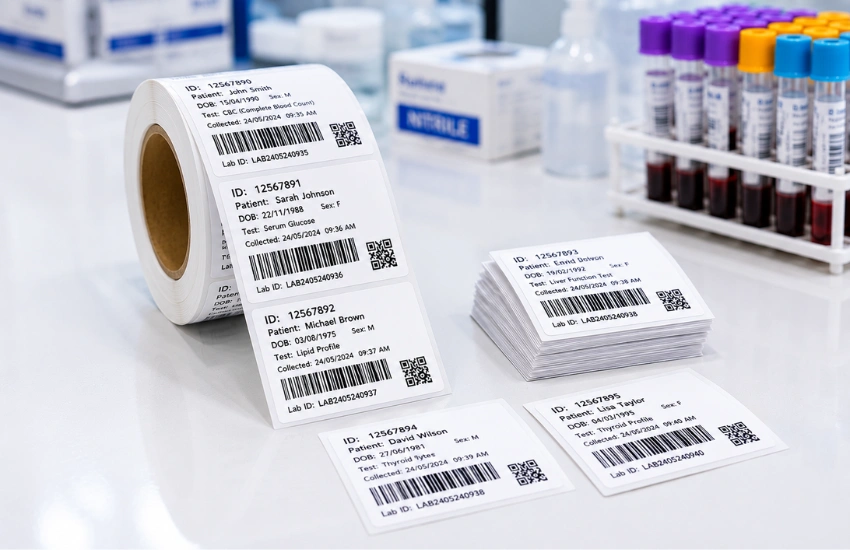
Table of Contents Energy Efficiency in Label Printing Operations Energy efficiency in label printing operations means producing the same output with less energy, less waste,

Table of Contents Personalized Label Printing: How Custom Labels Influence Recycling and Reuse Personalized labels increase consumer attention to packaging — attention that, when paired
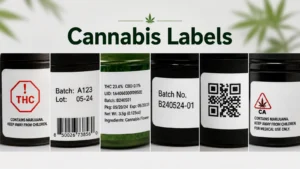
Table of Contents Why Cannabis Labels Fail Compliance Inspection: Print & Format Errors Cannabis labels often fail inspection with every required line of text present
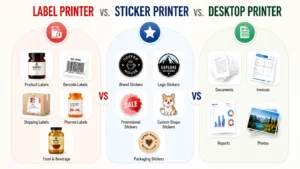
Table of Contents Label Printer vs. Sticker Printer vs. Desktop Printer: How to Choose Choosing the right label printing equipment depends on six factors: what
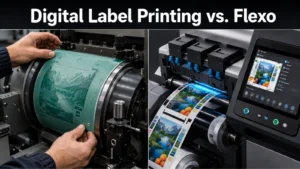
Table of Contents Digital Label Printing vs. Flexo: Where the Cost Breaks Even Digital label printing vs flexo comes down to one number: the run

Table of Contents BOPP Labels: Material Properties, Finish Options & When to Use Them BOPP (biaxially oriented polypropylene) is a moisture-resistant, durable film substrate used